Not everything you will want to record can be captured from within the comfort of the recording booth, sometimes you have to venture out into the vast unpredictable universe.
Luckily, bringing your audio equipment with you will be the least daunting part of your journey into the outside world, because the process is as simple as~ something simple.
Here’s what you’ll need:
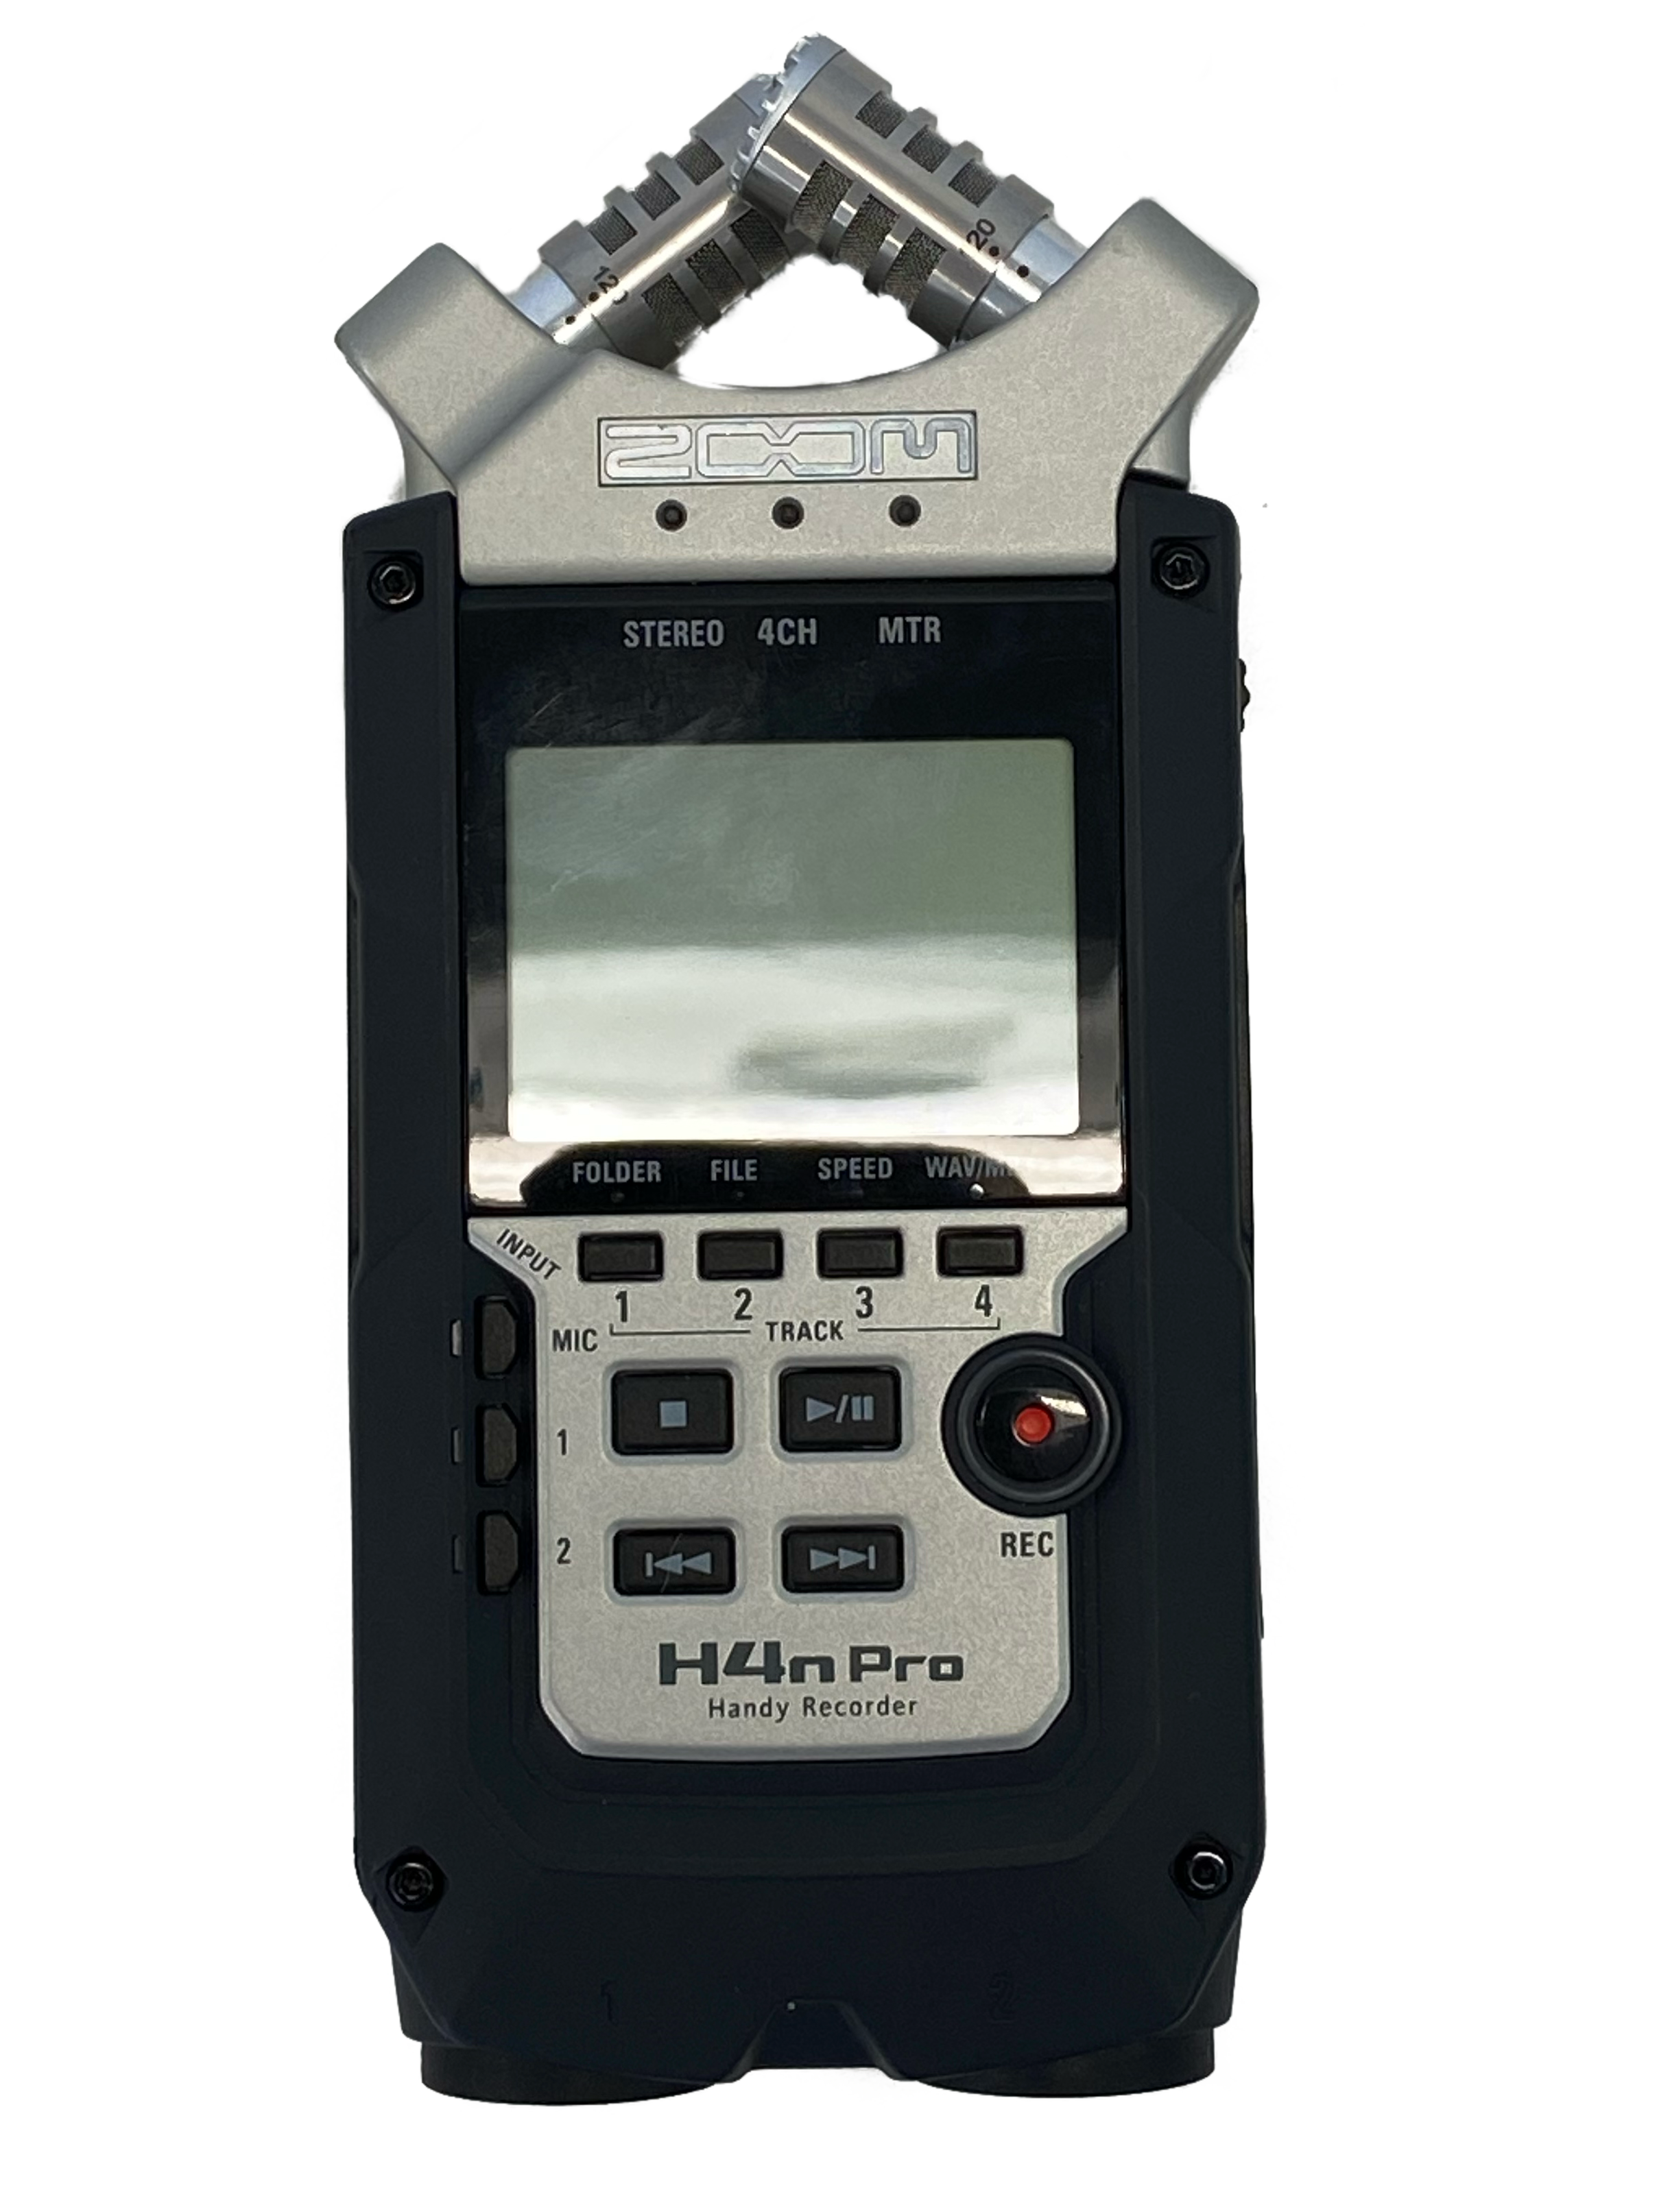
A portable recording device:
if you’re on campus, you’ll be using the Zoom H4n Pro.
An SD card:
This will be what your files are stored on so that you can export them later.

A dynamic microphone:
A condenser mic would also work, but if you’re trying to isolate a voice for an interview or something similar, a dynamic mic will block out all the outside noise from your environment and will reduce echo.

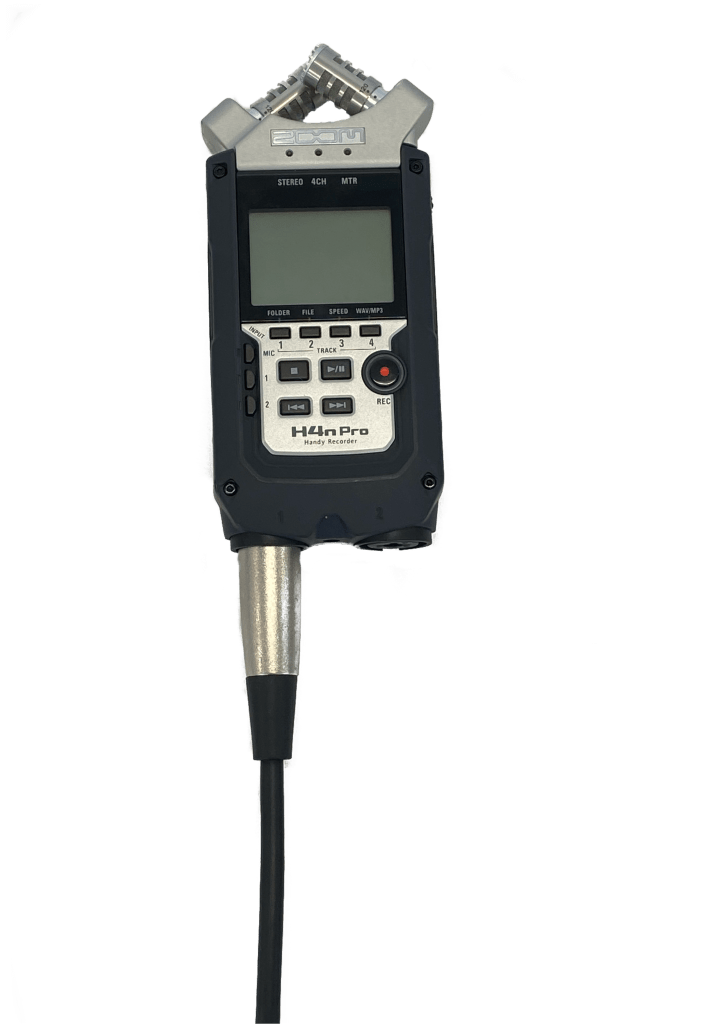
An XLR cable:
This will connect your microphone to the recording devise.

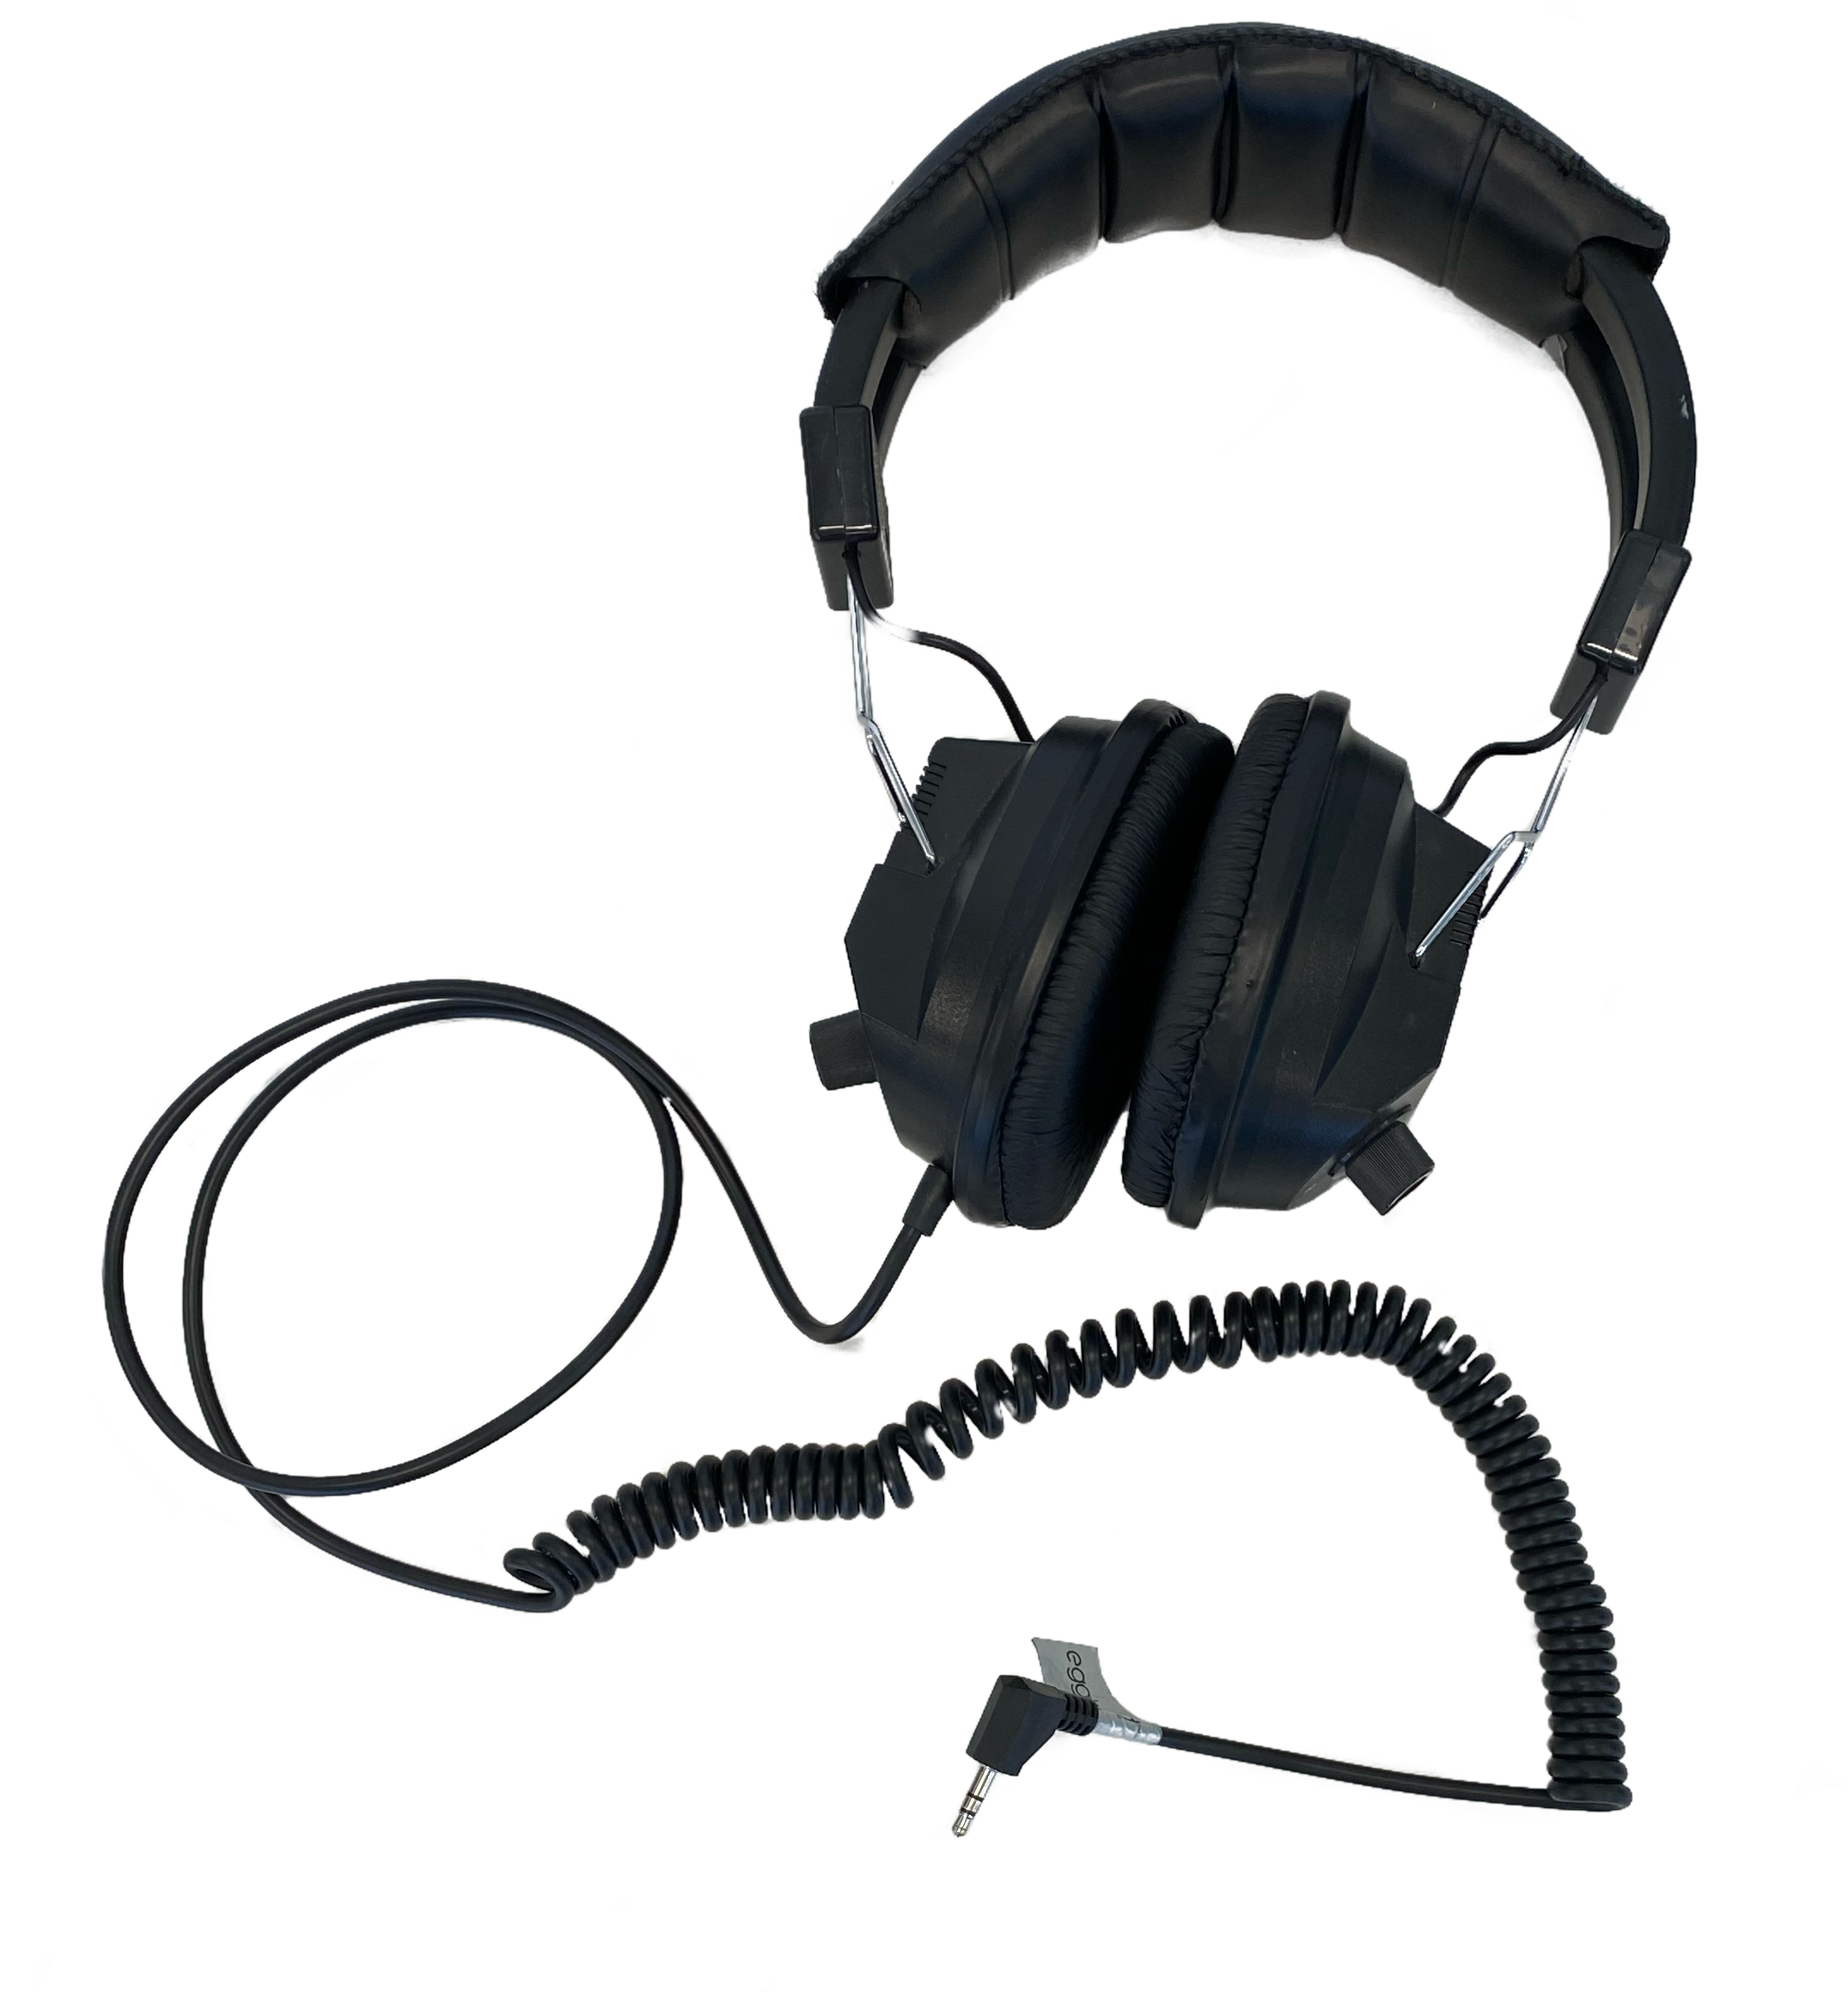
And optionally: a pair of headphones:
It may help you to hear what specifically your microphone is picking up so that you can adjust your technique for optimal quality.
First, plug one end of your XLR cable into the recording devise, and the other end into the microphone.

If you’re using headphones, now is a good time to plug them in as well.

Before you turn it on, insert your SD card in the slot on the side.

Now you’re ready to turn on your device. On the side of the zoom, there is a switch with two symbols, one is the word HOLD, and the other is a power symbol. Pull the switch towards the power symbol for 1-3 seconds until the screen turns on


You are now ready to record. Press the red record button once to ready it to record, it is now picking up the sound around it, and the light around it will blink red. If you put on your headphones, you can hear the sound.
Make sure that the device is picking up sound from your attached microphone, as opposed to the zoom’s internal mics. The row of buttons labeled INPUT should be lit up only on the bottom two rows, labeled “1” and “2”, as opposed to the button labeled MIC.

Press the record (REC) button once again to begin recording. The display will show you how long you have been recording. When you’re finished, press the square button and the file will be saved to the card for later use.
