The first thing you want to do is get your desired design. Bring your design into a layout that is in millimeters. In this case I will be printing a pavilion I designed in Sketchup.
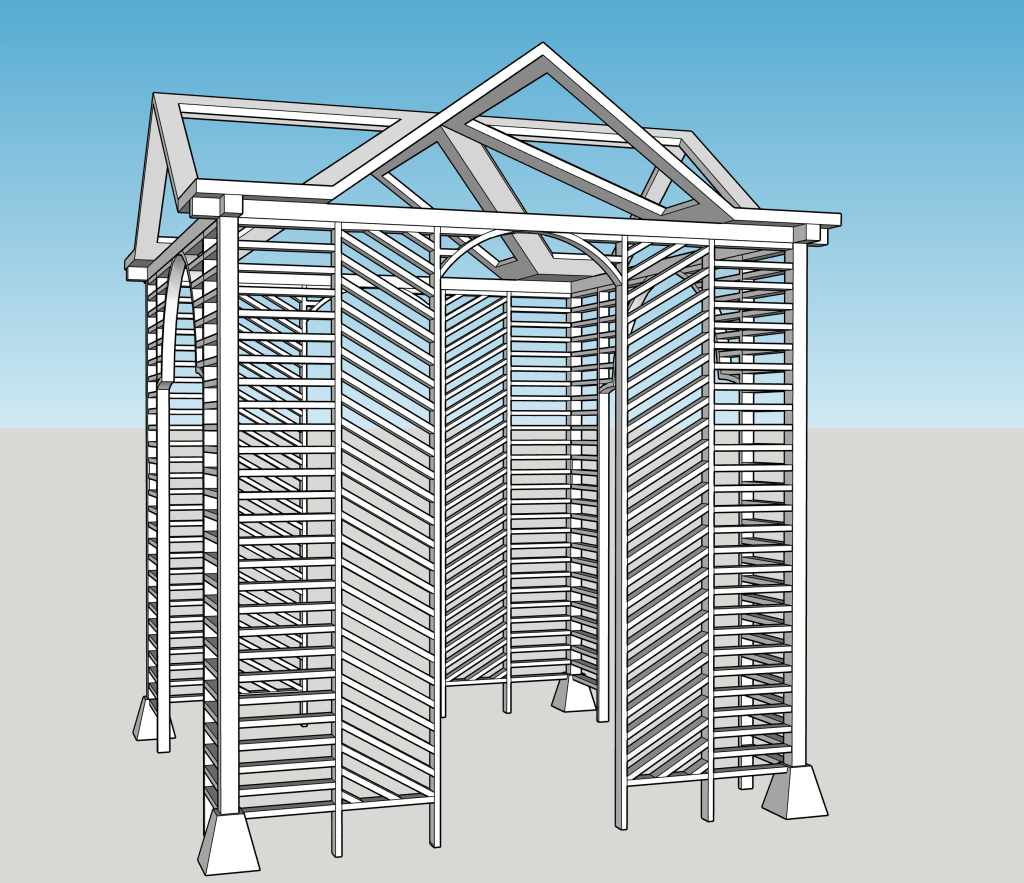
Once you have your desired print, the next step is to simplify the model. If your model’s lines are too small, the 3D printer will not be able to make them. If you’re making a larger model, this will not be as much of a problem.

Once you have your model to your desired dimensions and simplified as needed, you can now get ready to export it.

Make sure there are no other models in your file. If there are, they will be exported and printed. Once you’ve made sure that there are no other models, you will go to the top right corner and hover over the File button.


A dropdown box will open and reveal multiple options. You will go down to Export, hover over it, then click 3D model. You will then be able to name the file, select an STL file, and choose where you want it to be saved at. I saved it to my desktop so it was easy to find.
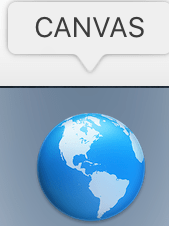
Next you are going to go to CANVAS Hub. In this case we have it saved to our dock on the computer.


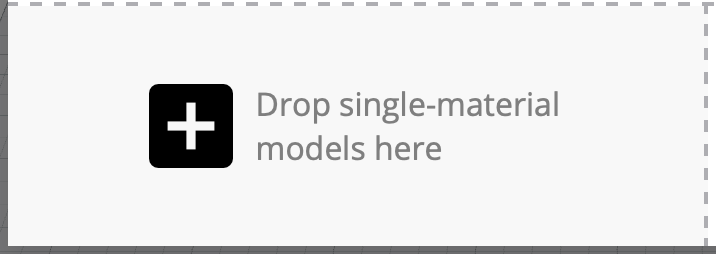
Once you have it opened, create a new project. Add your file by ether drag and dropping or clicking on the plus sign and finding your file’s name.

Now your model is in! Set up your desired settings, then slice your model. Send it to your printer and wait the amount of time it takes.
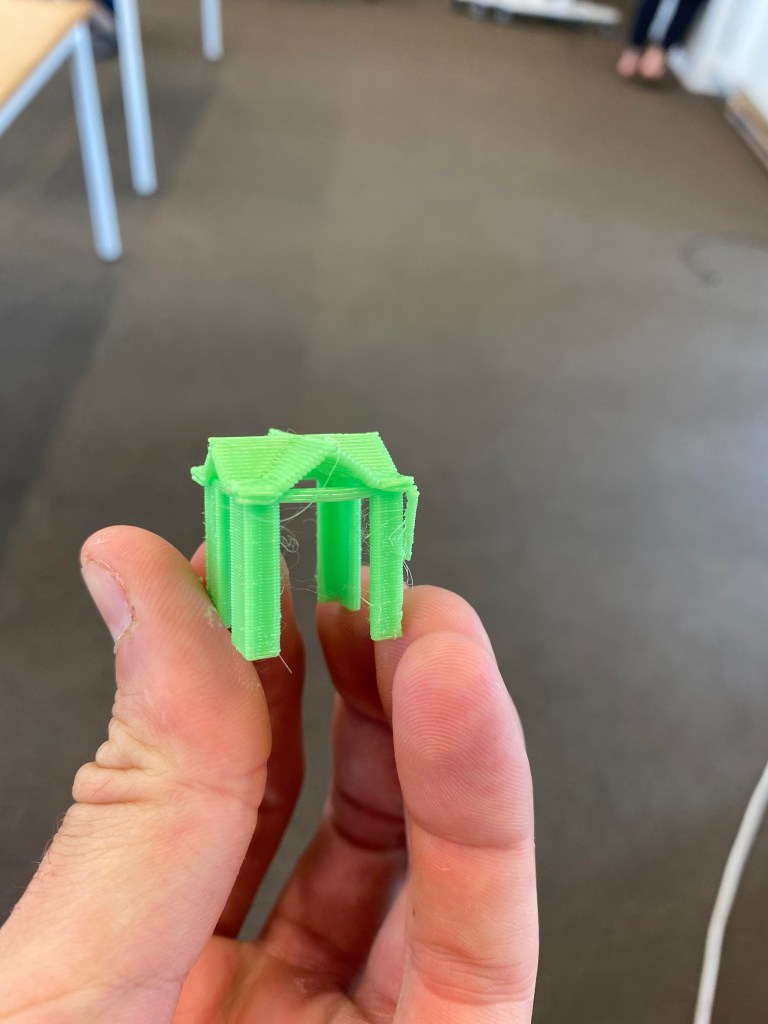
Then enjoy your print that came right from your designs!
