
In this Repository I have shared many of my sick beats and my process of making them. For this article I will giving you a tutorial on how to use Adobe Audition, which is the editing software I use to make my music. That way you can be on your way to making music of your own!
Importing
- Open Adobe Audition
- Once it’s open locate the file tab at the very top of the screen.
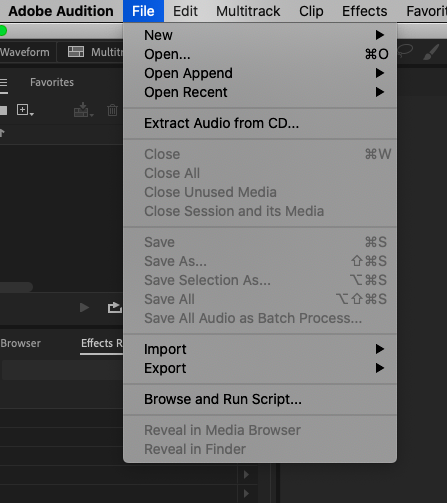
- Select Import – File. Find your file and press Import. Your screen will look something like this.
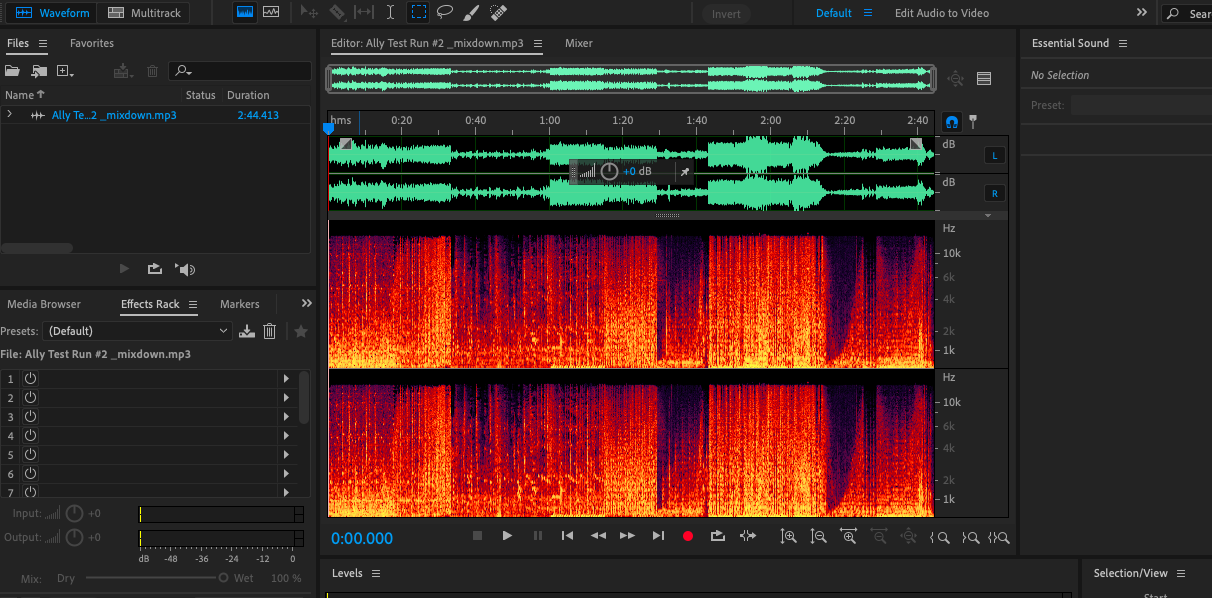
- You are currently in Waveform Mode. To drag and edit your audio you want to be in Multitrack. Look in the top left corner and select Multitrack.

- Now locate your file in the Upper left box titled “Files”.
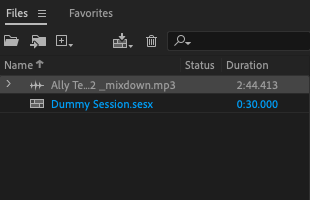
- Select and drag your file into one of the green, purple, or yellow boxes.
Great! You have successfully imported your audio in Adobe Audition. Now lets learn the tools you’ll need to use.
Tools
On the top of you screen you’ll see a line of tools

– This is the Move tool. You will use this tool a lot. This tool lets you move the audio wherever you want it to on the track.
– This is the cut tool. This tool lets you cut your audio wherever you want.
– This is the slip tool. The slip tool allows you to trim down your audio however you like
– This is the selection tool. This allows you to select all or just certain parts of your audio.
– Right below the toolbar there is a rectangular box with this tool in it. This is the zoom in and out tool. It’s pretty straightforward, it allows you to zoom in and out on your audio.
Other Things you need to know!
Volume:
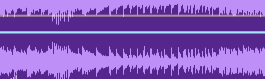
- To turn the volume up and down you need to locate the tan bar on your audio. (Next Page) It looks like this.
Turn volume up- Move line up
Turn Volume down- Move line down
Overlaying Audios:
- Let’s say you want to add two audios together without it sounding choppy. Here is what you do.
- With the move tool grab the audio you want to overlay.
- Drag it over the other audio
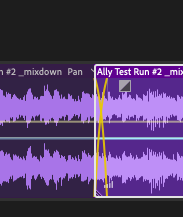
Now it’s a smooth transition!
Fade in/ Fade Out
- If you don’t like how your audio abruptly ends, you can change it to make it fade in or out.
Fade in:
- With the cut tool cut where you want your audio to fade in.
- Locate the clip folder at the top of the screen and click it.
- Scroll down to fade in and click it.
- Then click fade in again
- Repeat steps to fade out
Mute:
- The mute button comes in handy when you have multiple tracks in one session and you only want to hear one.
- Locate the M in the control panel next to the green, purple, and yellow boxes
- Click the M

Exporting
- Now that you have learned the tools, it’s time to learn how to export your track after you’re finished editing.
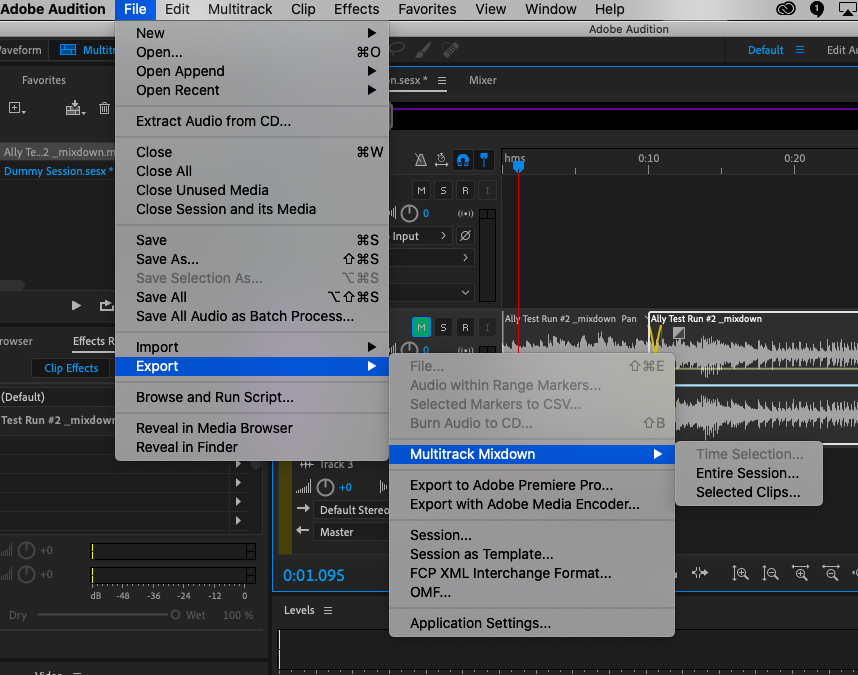
- Click the file tab at the top of the screen and select export.
- Multitrack Mixdown- Entire Session
4. Now a new screen will appear that has a bunch of different drop down menus. Really all you need to worry about are these three.
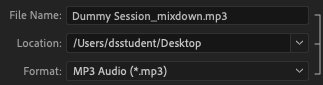
5. File Name- Name it whatever you want
Location- Choose where you want it to export to
Format- If it’s all audio I would leave it or change it to mp3.
6. Press okay and you are done!

Congratulations! You now know the basics of Adobe Audition!
