Last year, I was doing a lot of freelancing and learned how to create short GIFs using Photoshop. I decided to start making GIFs for my clients who needed advertisement and promotional graphics for their entrepreneurship projects. Learning how to do this was simple enough, but I prefer having a tutorial that I can look back on because I have trouble keeping track of instructions and steps in my head. So I decided to make this short article that will teach you the basics.
Step 1.
Open Photoshop. This is easy enough if you already have Photoshop downloaded.
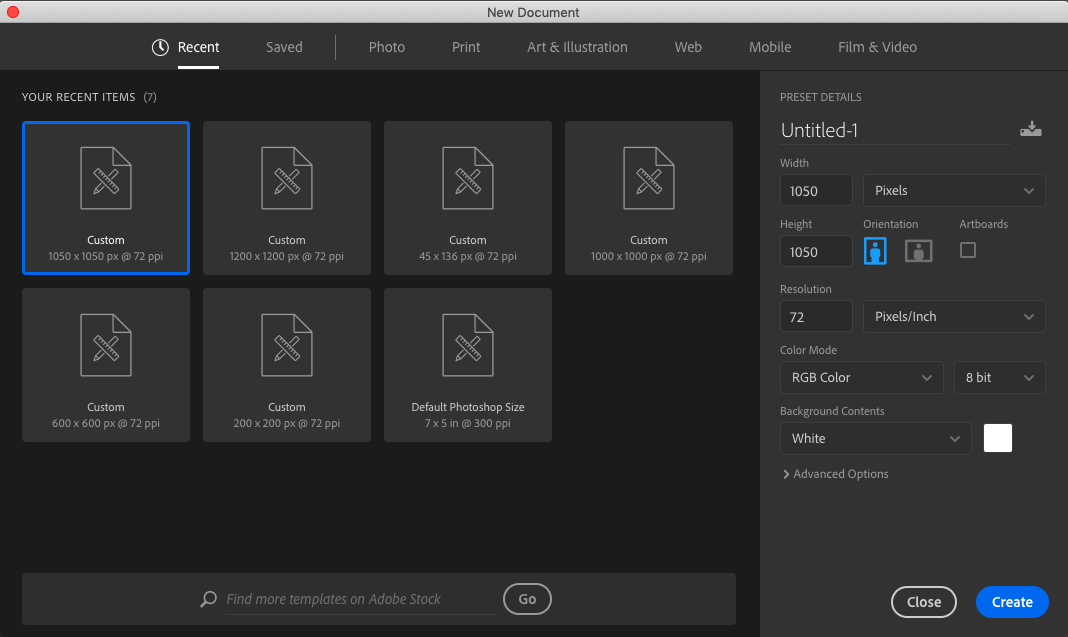
Step 2.
Click ‘Create new’, then pick the size and settings for your artboard. Click ‘Create’.
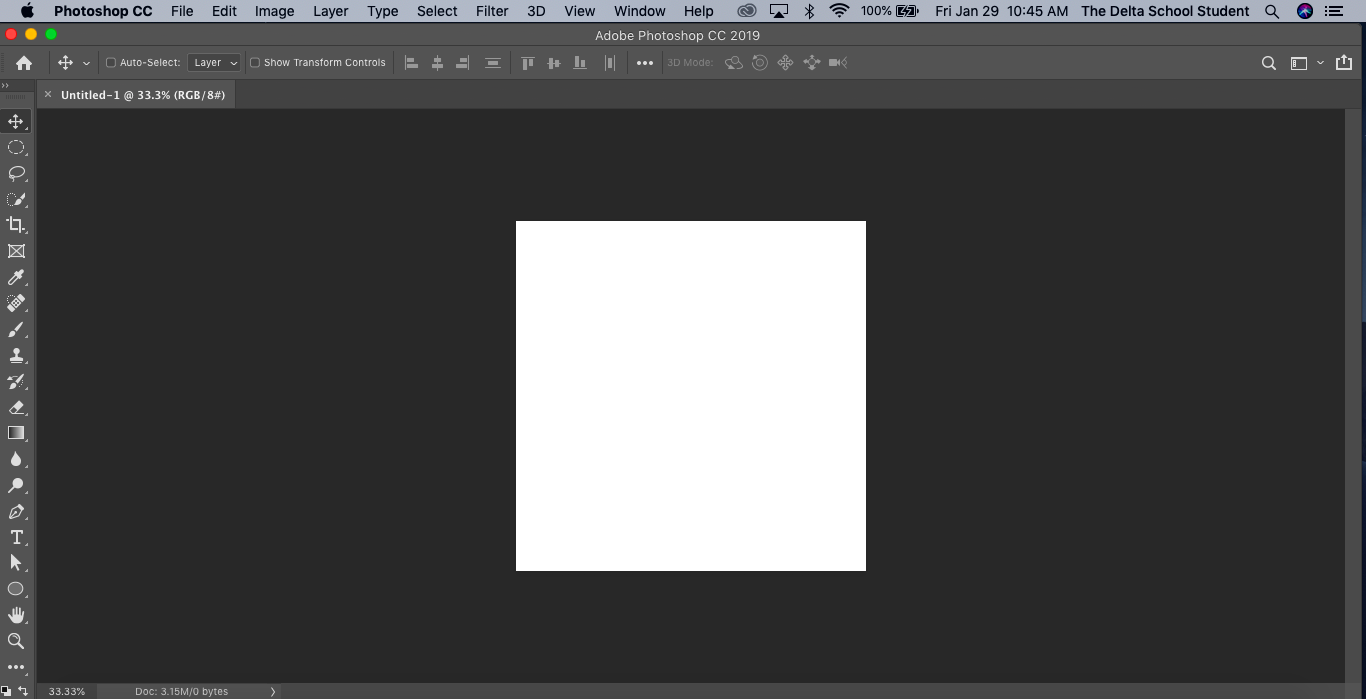
Step 3.
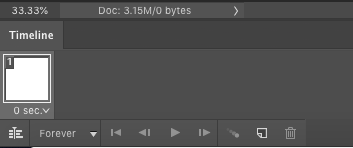
You will now have an empty artboard that looks like this.
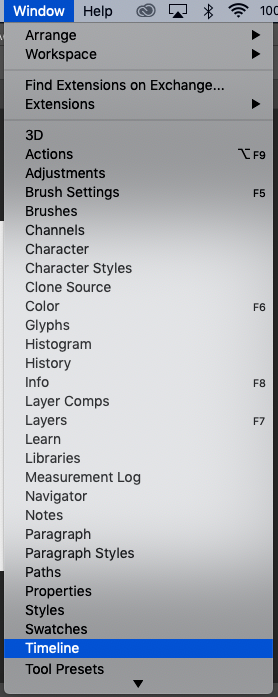
Click on “Window”, then click on “Timeline”.
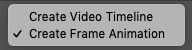
This should open up a new window called “Timeline” with an option called “Create Frame Animation”. Click on “Create Frame Animation”.

Make sure you don’t have “Create Video Timeline” selected. If it is, you can click on the drop down button and choose the correct option.
Step 4.
You should now be able to see your first frame in your animation.
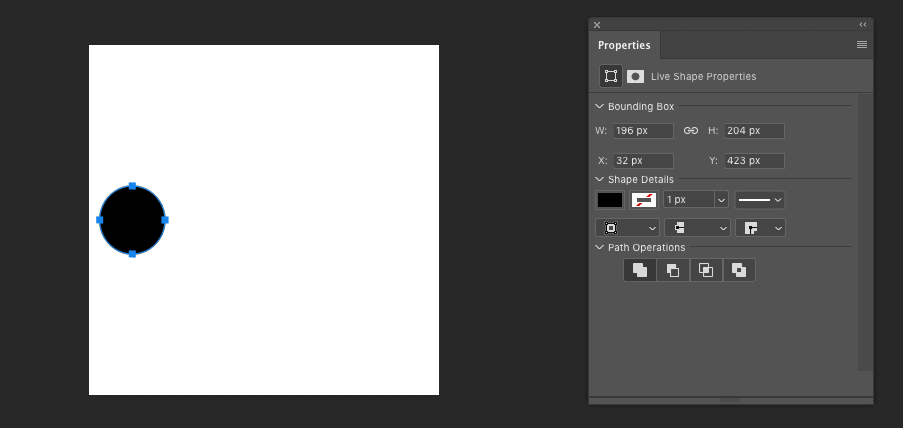
Select the eclipse option and create a small circle.
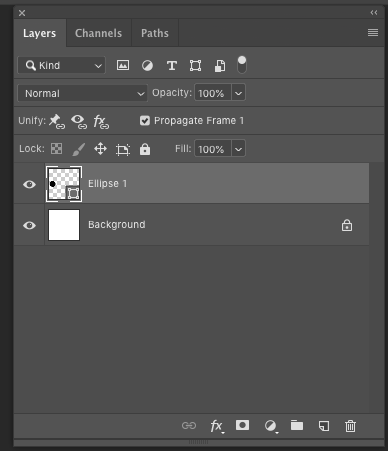
You’ll want to be able to see your layers. If you can’t go back up to “Window” and click on the option “Layers”.
Step 5.

Click on the icon that says “Duplicates selected frames”.
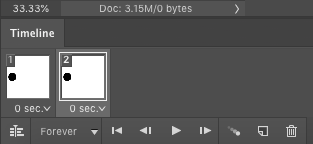
Now you have a second frame. You can begin animating.
Step 6.
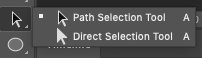
Make sure your mouse is set to “Path Selection Tool” and the second frame is the one highlighted.
Drag the circle across the artboard from the left side to the right. You can then switch from your first frame to your second and see the circle changes position when you change frames.

Step 7.

If you click on the play button you can see what your current animation looks like. We can begin to make this more complex and have the animation be smoother.

Click on the icon called “Tweens animation Frames”.

This window should pop up called “Tween”. The more frames you add, the “smoother” animation will be. Right now the number of frames is set to 5. Click “OK”.
Now there are 5 new frames in between the 2 you tweened. Click play and watch how your animation looks now. Much better, right?
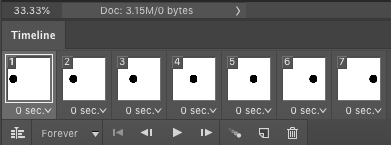
Step 8.
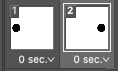
You can change the amount of “delay” between frames. Right now it is set to 0 sec.

You can click on the drop down button and edit the delay if you want. This is optional.
Step 9.
This next step is optional as well, but I’m going to go over how to fade a graphic out.
Make a new frame and make sure it is the only one selected.
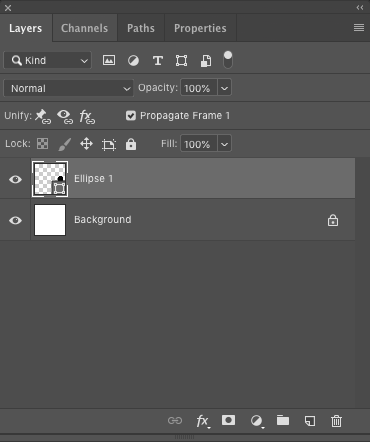
Go over to your “Layers” window and click on the little eye icon called “Indicates layer visibility” on the “Ellipse 1” layer.

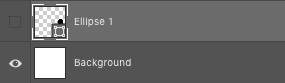
This turns off the layer’s visibility on the new frame you made.
Step 10.
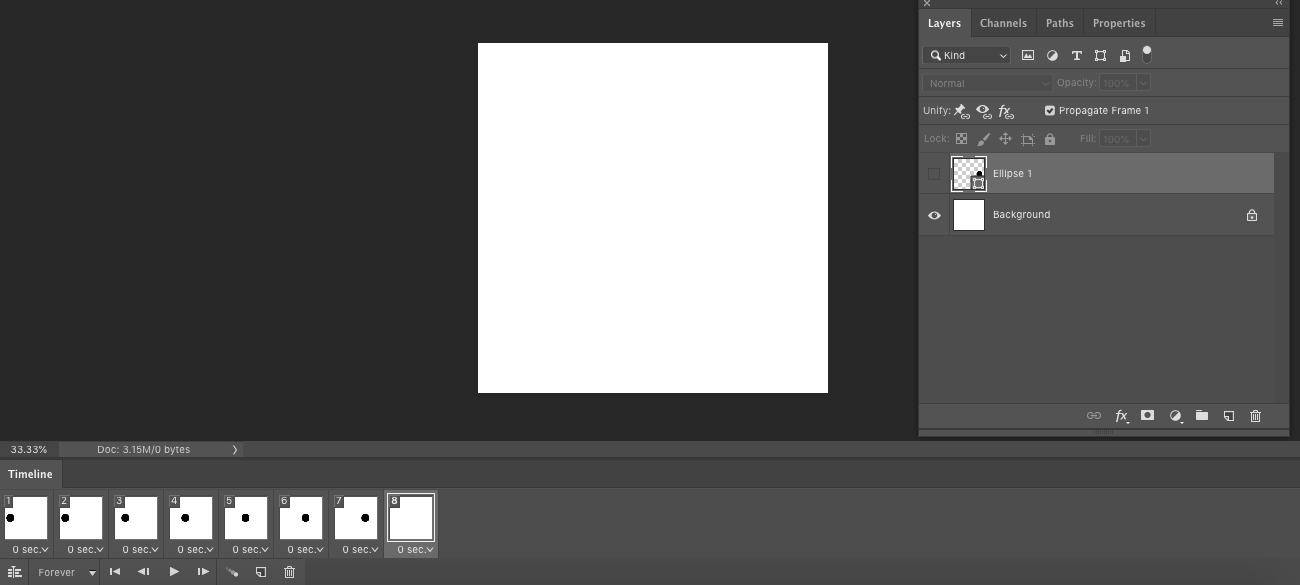
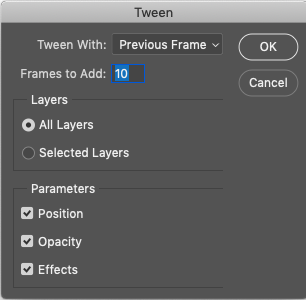
Now we can animate the fade. With the frame still highlighted, click on the “Tweens animation Frames” icon again.
This time, try a different amount of frames. I chose 10. Click “OK” and play your new animation.
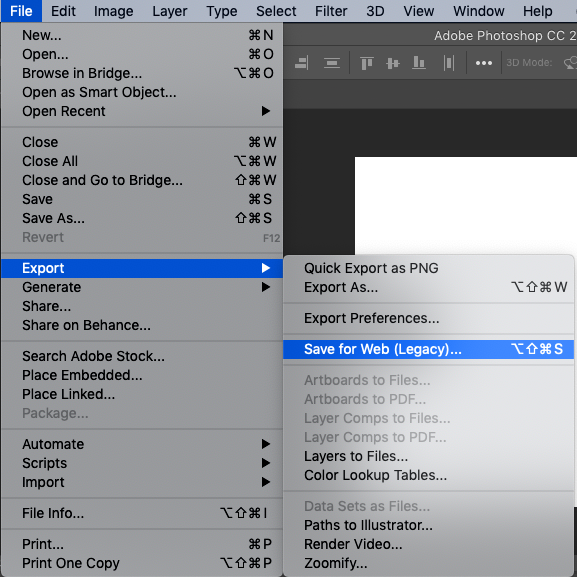
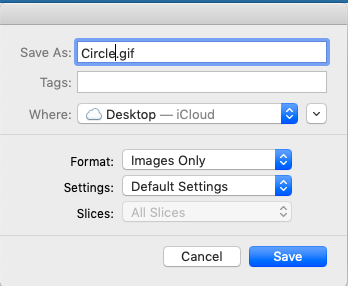
Once you are satisfied with your animation, click “File”, hover over “Export”, and click “Save for Web (Legacy)”.

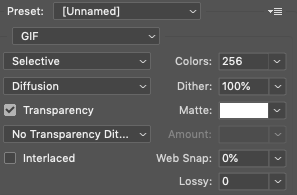
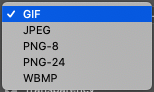
Select GIF and save.
Name the file. I usually save the GIF to my desktop.
Now we have our animation!

Step 11.
Open a new web page and drag the GIF into the search bar.
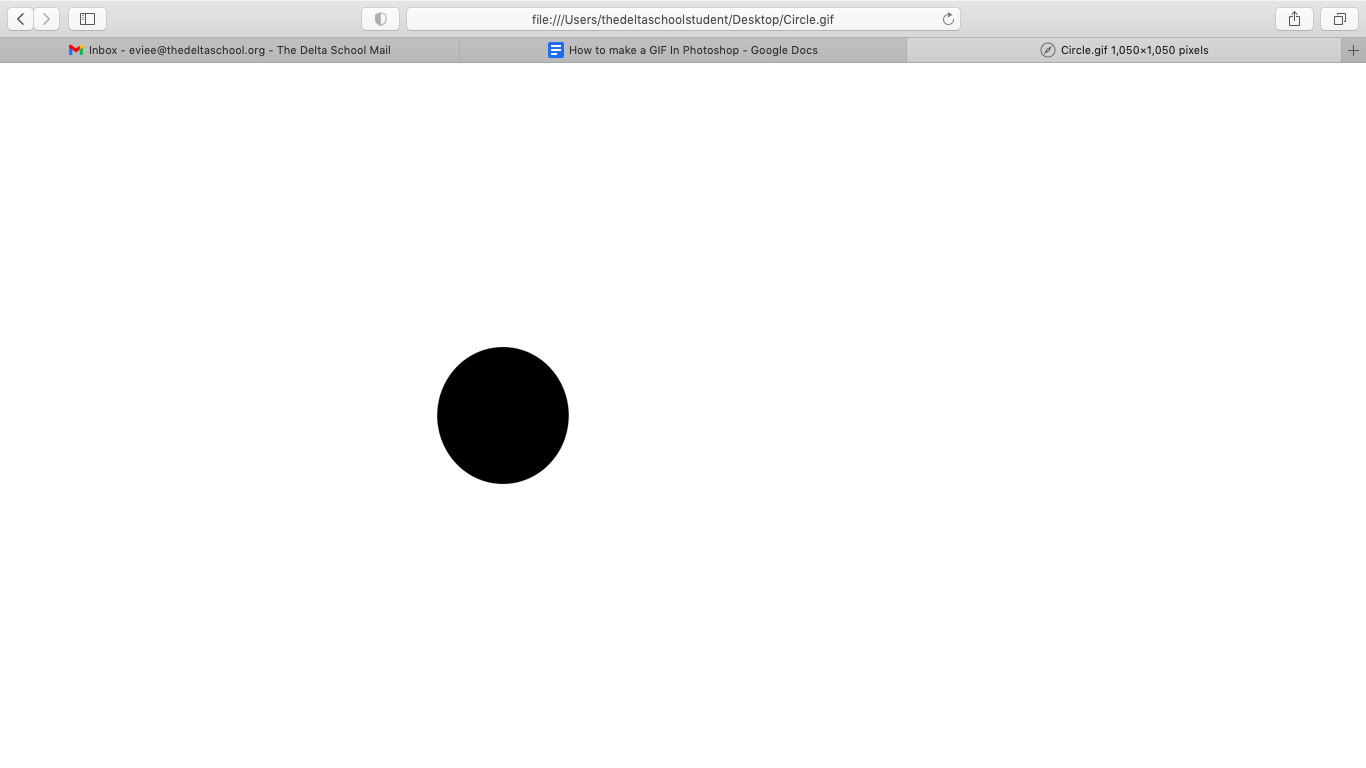
Now you have a GIF.