Step one: Find Inspiration
- Before I start any of my modules, I get some kind of inspiration, whether that’s pitchers, objects, videos, movies, props, etc.
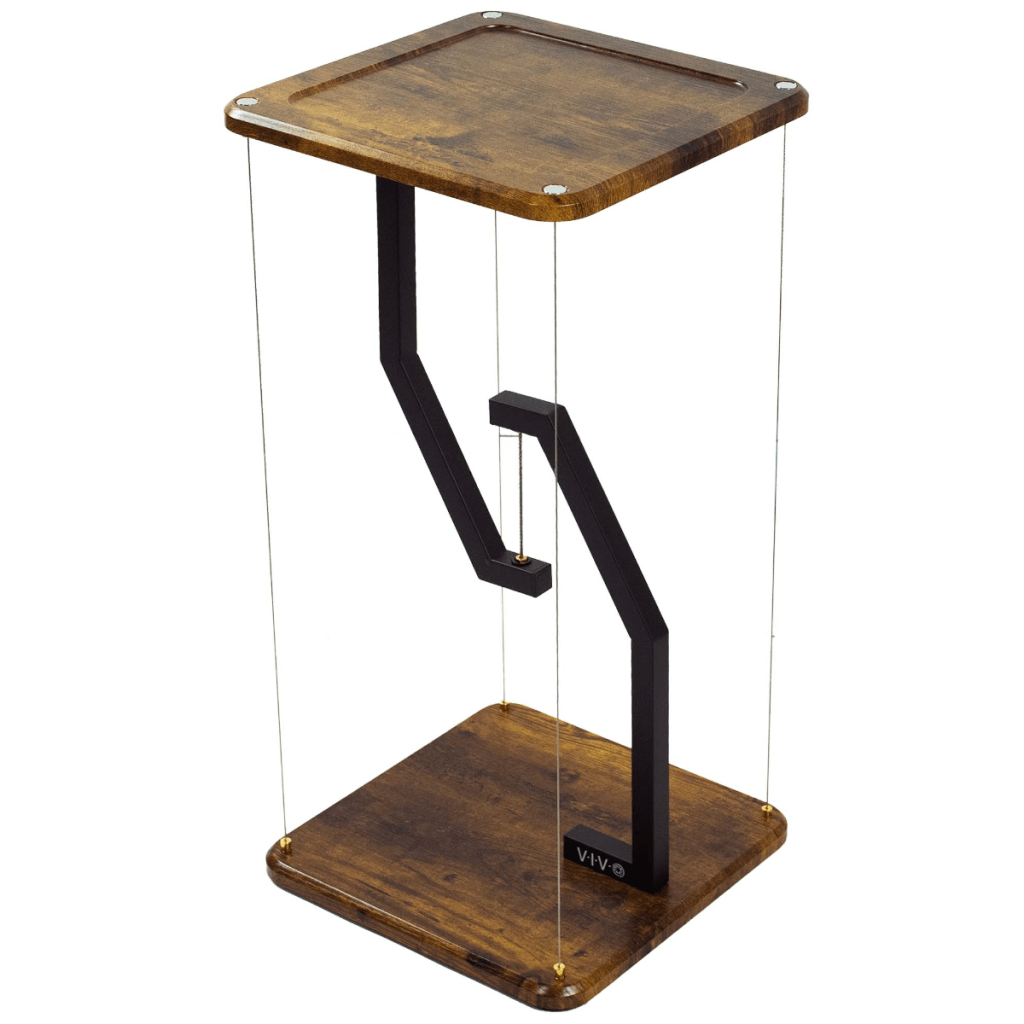
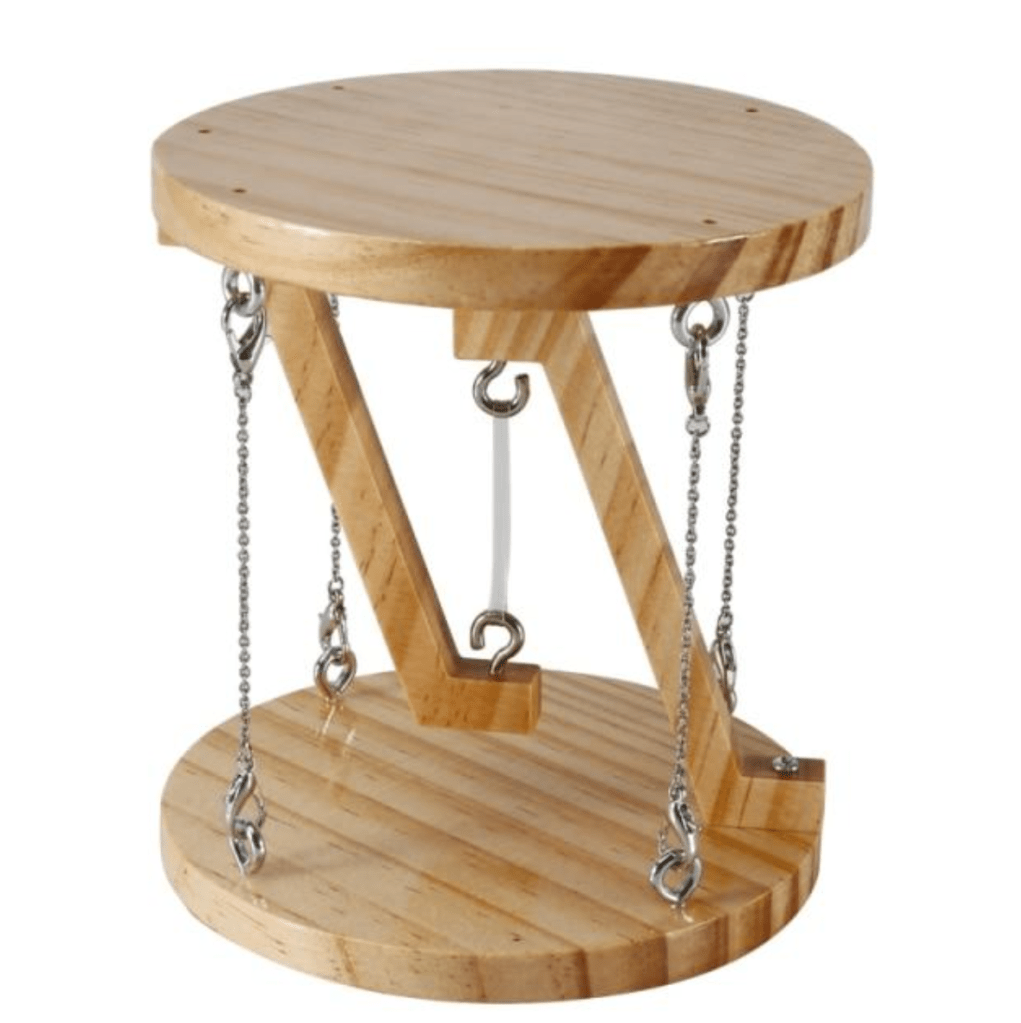
- For this, I have found an interesting example of physics represented by a stool. I plan to make it into a coaster/small table that can be 3D printed. I found this just by looking at the same short video and ran across it.
- Referents Pitchers

Step two: Start Modeling – Sketch
- Now that I have found some inspiration, I can start creating some basic sketches of what I want my model to look like.
- I always try to get the most I can out of my first sketch, and normally, it will be my largest. I do this because it shortens the length of my timeline, which can be very useful later on. As well it gives me a large amount more to work with when I start making everything in 3D.
- In this, I have created the base for both the top and the bottom of my model. As well I have added where the legs would be.

Step three: First Extrusions – 3D
- Now that I have the main sketch, I can start extruding it so that I can have a three-dimensional shape to work with so that it will be easier to make smaller details later on.
- I do this before all the sketches are done because a lot of the time it takes looking at the thing before you really know what you need to do.
- In this pitcher, I have exerted the both top and bottom of the model doing this now will help me make new sketches and push the model forward faster.
- I do this before all the sketches are done because a lot of the time it takes looking at the thing before you really know what you need to do.

Step 3.5: Slightly more detail
- In this step, I have just added some of the smaller details to my explanation, nothing too minute, but something that could affect the process later on.
- So rather than having something get messed up then I did it now.
- In this, I added the conceived part to the top piece and removed an edge around the bottom.
- So rather than having something get messed up then I did it now.

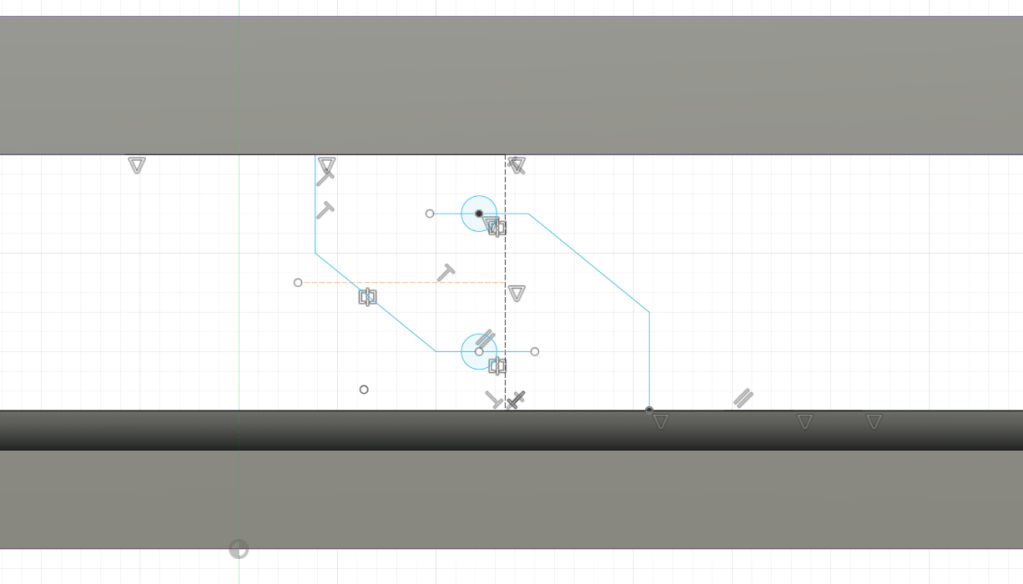
Step four: Second sketch
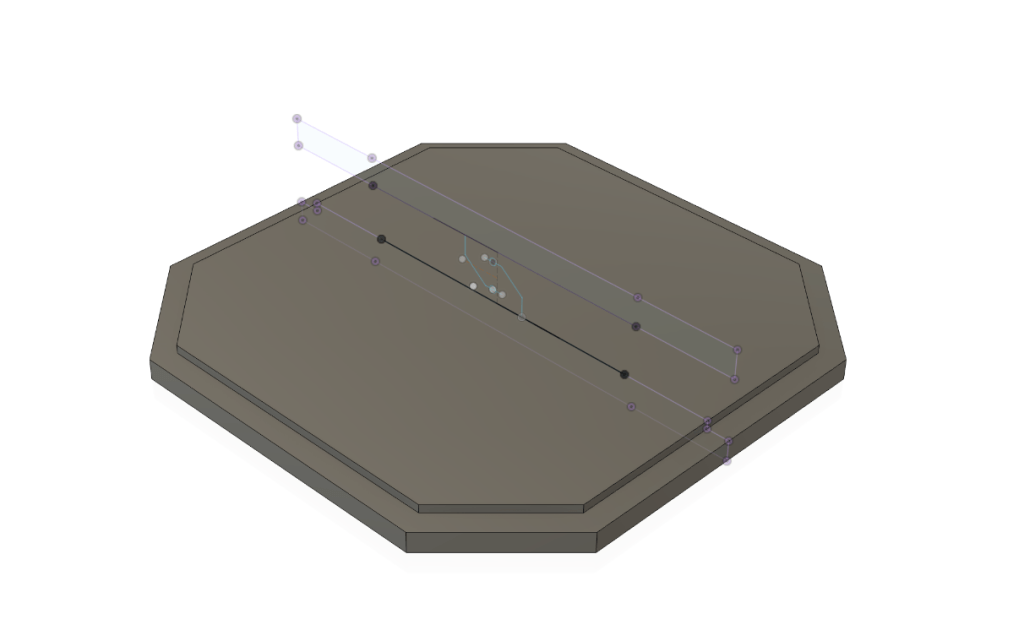
- In this step, I started by raising the top from the bottom slightly to add more space for the hooks. After this, I added a new sketching plane in the middle of the model so I could add the hooks directly to the middle of the shape.
- This makes it easier to sketch the hook itself and makes it easier to extrude later. I also should note that I use the Project tool to get the surface of the new face of the object as lines, that’s why they’re purple.
- In this, I sketched the middle hooks that would act as one of the main parts of the modal.
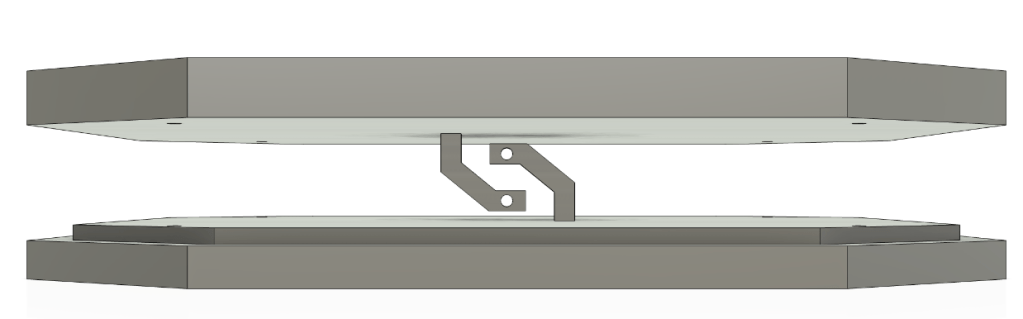
Step five: Second Extrusions – 3D
- In this step, I used the pipe tool to make the lines become 3D and then used the Extrusions tool to make the holes. After that, I extruded the corner holes from the first sketch.

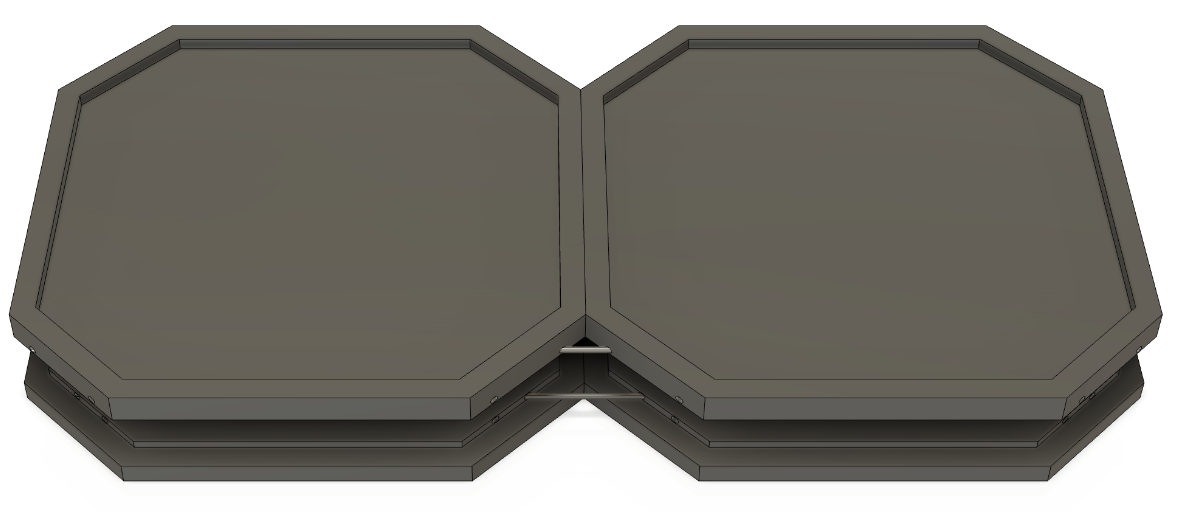
Step six: New idea.
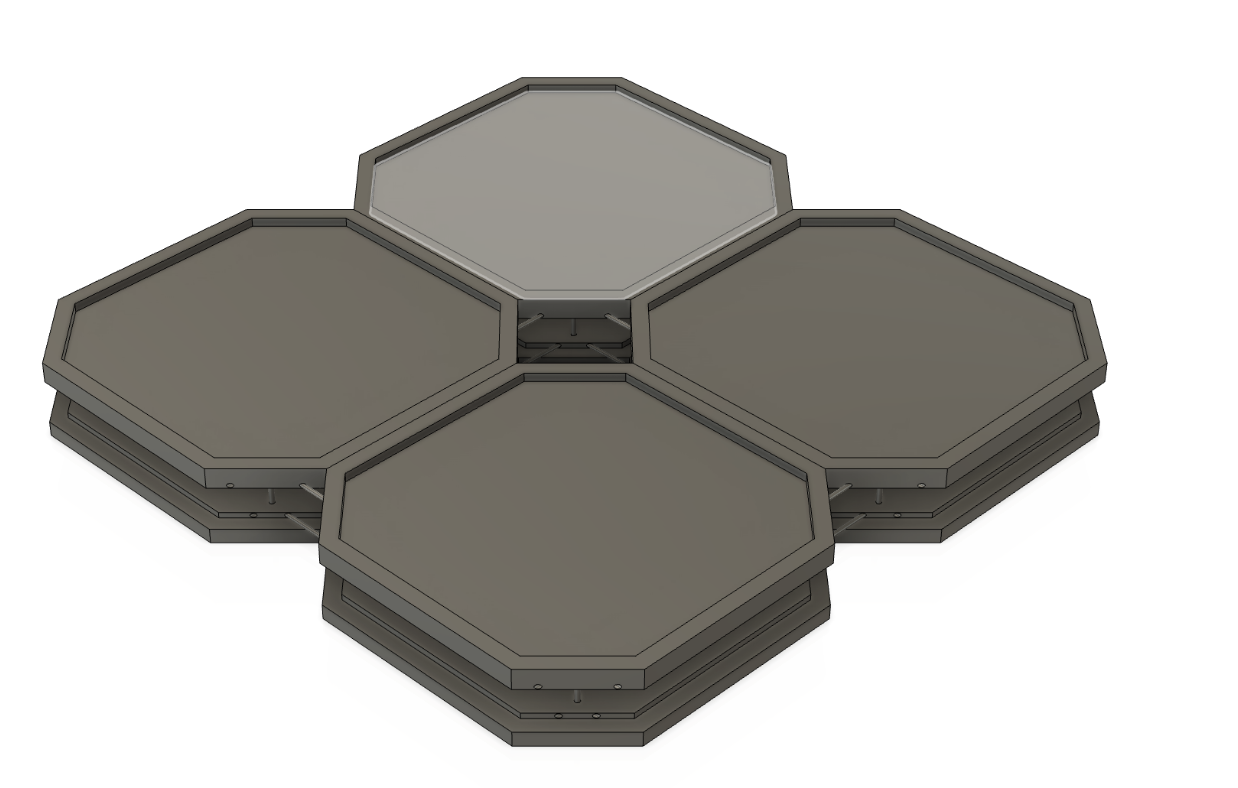
- While making the rest of the model, I thought of an idea to make it so that you could join modules together so you could have a larger area if you wanted or use mottled for organization on a desk.
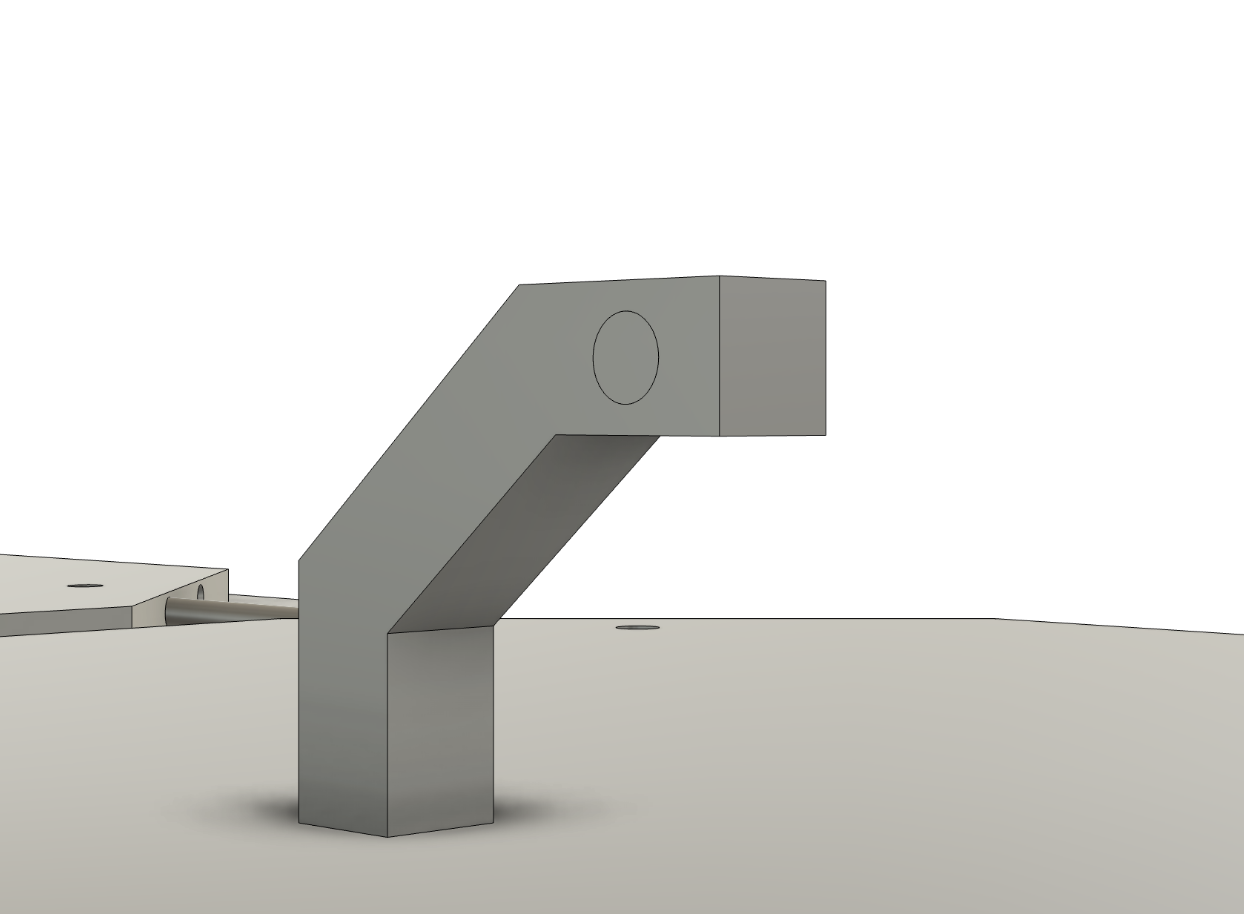
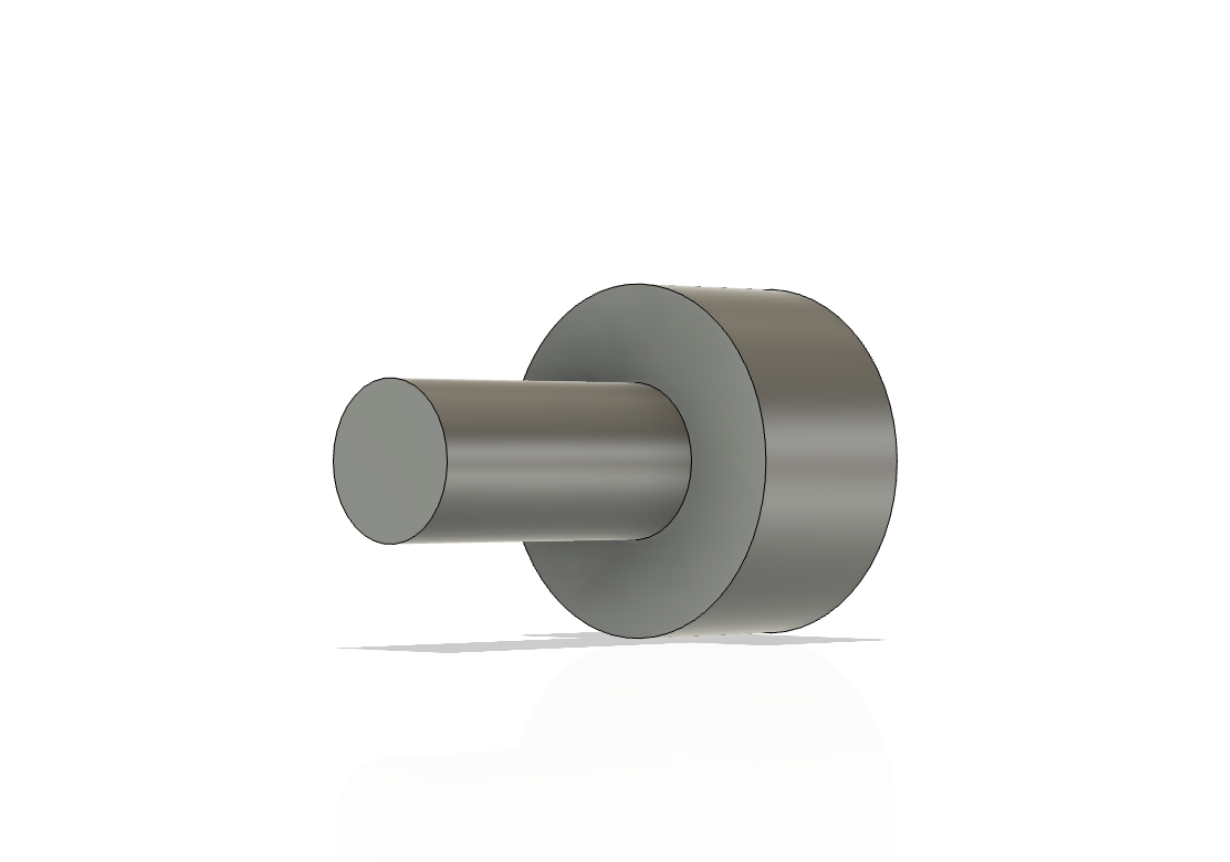
- I went about doing this by adding small holes on the side where you could add a rod that could be used to connect the two.

Step 6.5: Connecting them
- Now, at this point, I will use the Extrusions tool to add the connection rods and then test by copying and pasting a second one of what I have.


Note: Why I do this now
- It normally would be a good idea to do this step at the end of the model, but. I wanted to test this now to see if it might affect anything or bring up a problem later on that I could just fix or about for now.
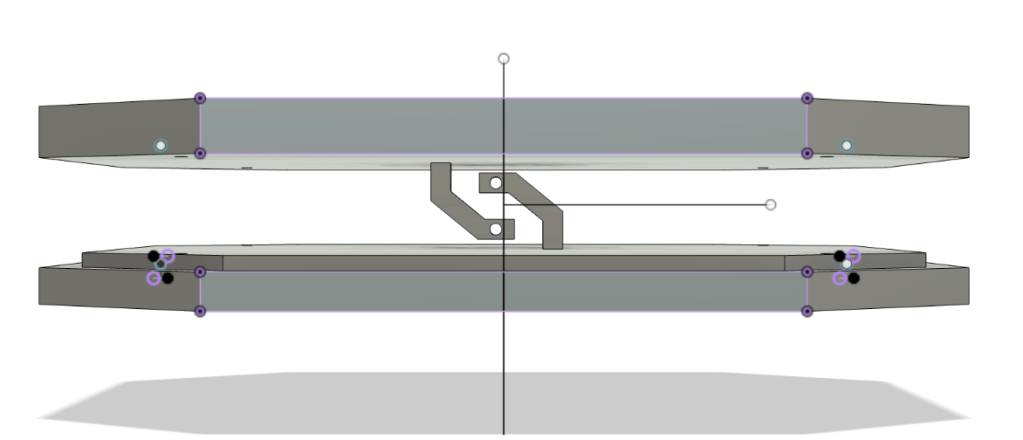
Step seven: Last components
- At this point, I’m almost done and can add the last main components. First, I added the main rods that go on the corners. Then, I created the system for how the middle piece would work. I made it so you would cut out a small piece of fabric and use the two small pieces shown to hold it in on the top and bottom hooks.
- I did this so that if you wanted to, you could easily change the height of the model by just changing the height of the corner rods and cutting a piece of fabric.


Step eight: Final touches
- At this point, the model is pretty much fully done. But now I like to look back and see if there is anything I want to improve or change and then go back and change it.
- This step could be something small, something that takes hours, or doing nothing at all it just depends.
- I added a distal version that would make it easier to connect them to make one larger one and also added peace to fill in the middle part.