
Do you want to create your own short film, and have the footage but aren’t sure what to do with it? I give a detailed explanation on how to edit your film, why each edit is important, and a general overview on how to use Adobe Premiere Pro with a little Photoshop.
Here’s The Tutorial: https://youtu.be/AgIqtMfoZo8
Written Instructions:
Roughly compose all of your clips in the right order, do this in the Assemble workspace. Where you can select the in (key-bind i) and out (key-bind o), and drag the clip into place.

In the editing workspace, create L-Cuts (Video then Audio) and J-Cuts (Audio then Video) to make your film feel smoother and add more emotional depth to the story. To do this you want to select all your clips, right-click, and press ‘unlink’ to make the video and audio elements independent.

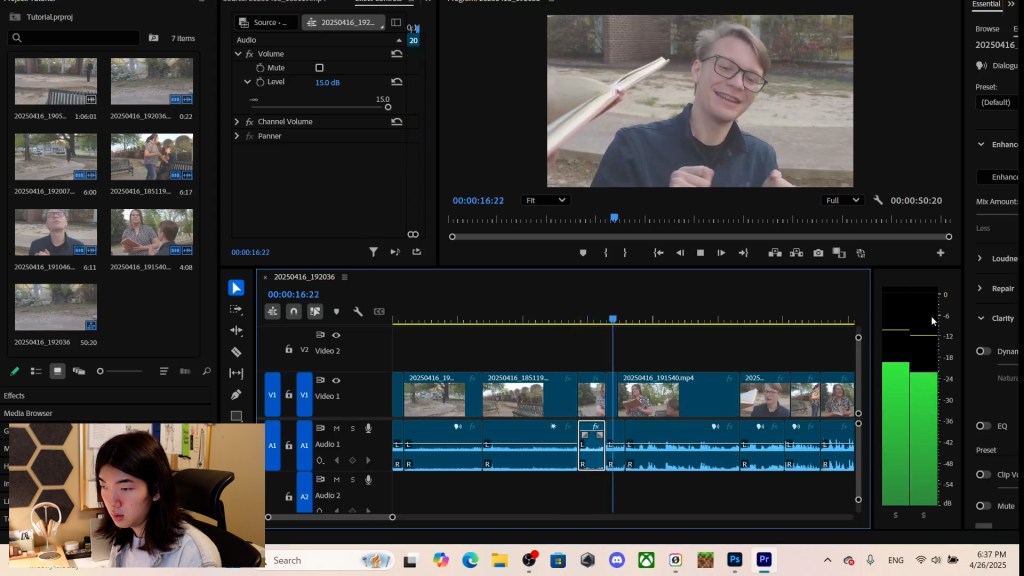
In the Audio workspace, make sure each clip’s audio is at the same level. Dialog should be around -6dB with background noise and sound effects between -18dB to -12dB. You can also use keyframes to make the change in volume gradual thought a clip.
To make your film come to life, export a frame that has high significance in your film and import it into Photoshop. From there you can make adjustments such as Levels, Contrast, and Saturation. Export the color graded frames as a .CUBE file, by clicking Color Lookup Tables in the Export menu.

