
Once you master the ability to conceptualize the way you should go about crocheting an amigurumi figure, you will be unstoppable! I wanted to walk you through my process of deciding the stitches, materials, and the best way to construct my figure with only a reference image.
When I am looking to crochet something with leftover yarn from a previous project, I start to think about what the color reminds me of to draw inspiration from. Since it is April and almost Easter, I decided to make a small bunny with leftover cream yarn!
I typically look for an inspiration picture to use as reference even though I will not directly replicate the reference image. For this small bunny, I found this image to get me going:

Once I have assessed what materials were used in my reference image, I begin to gather my own materials.
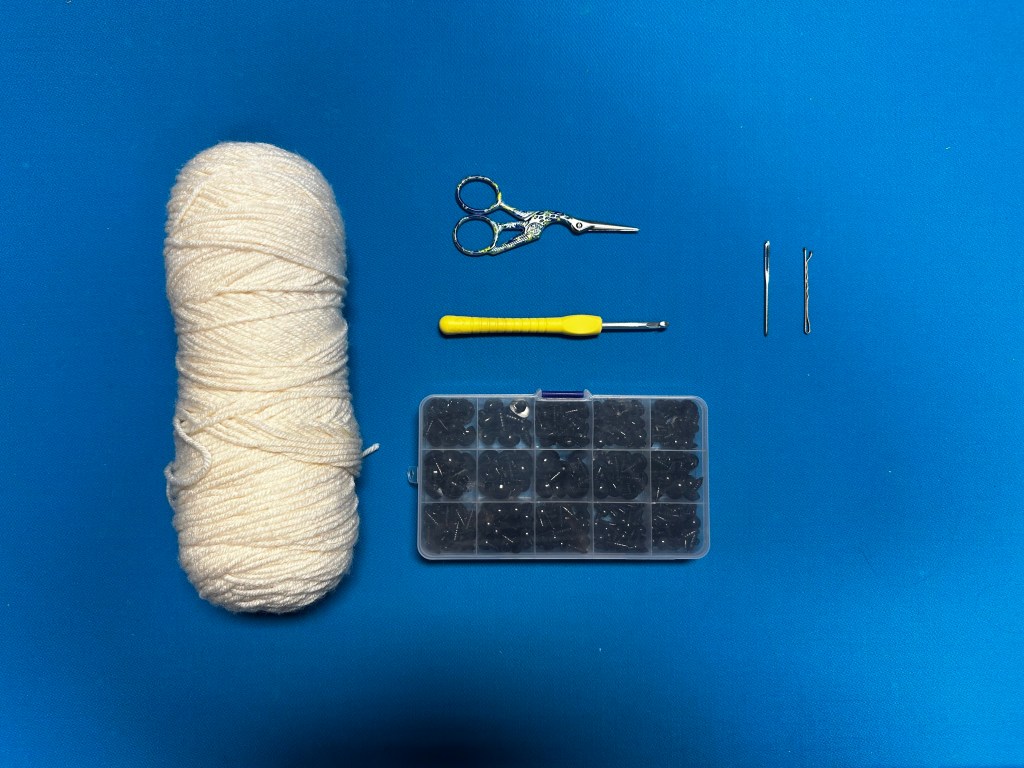
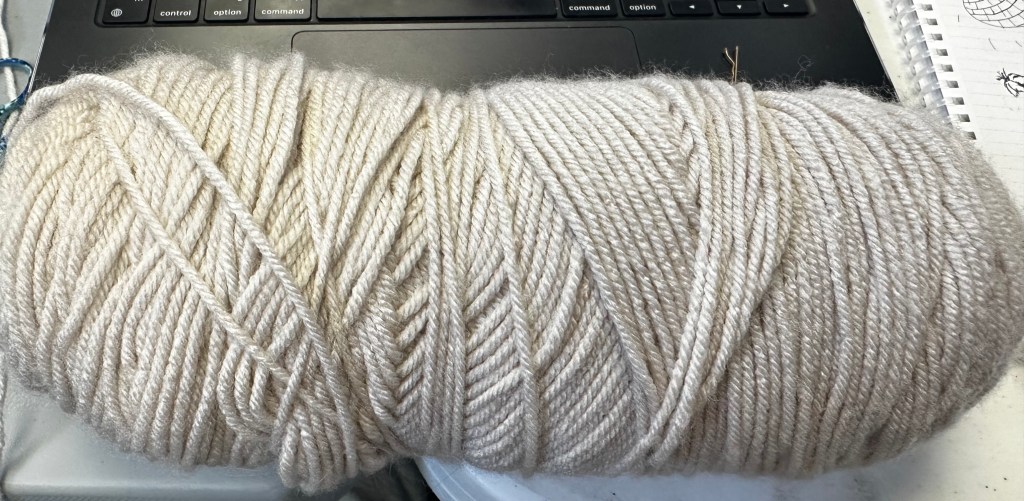
Pictured below for my initial materials is my leftover cream yarn, embroidery scissors, a large embroidery needle, a multipack of plastic eyes, a bobby pin for hair that I prefer to use as a stitch marker, and my crochet hook!
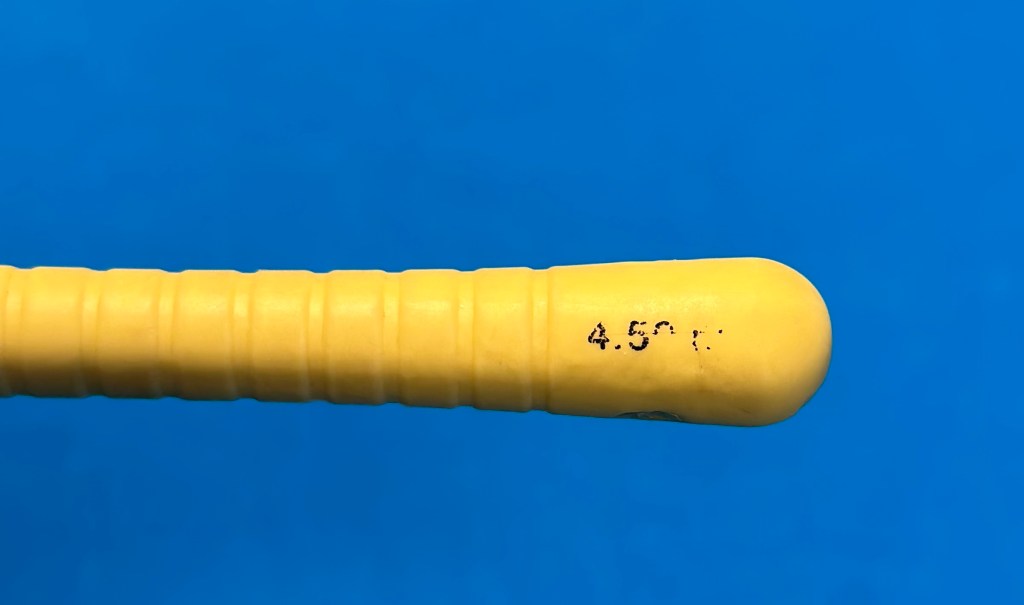
I determine that for my yarn size, I am able to use a 4.50 mm crochet hook.
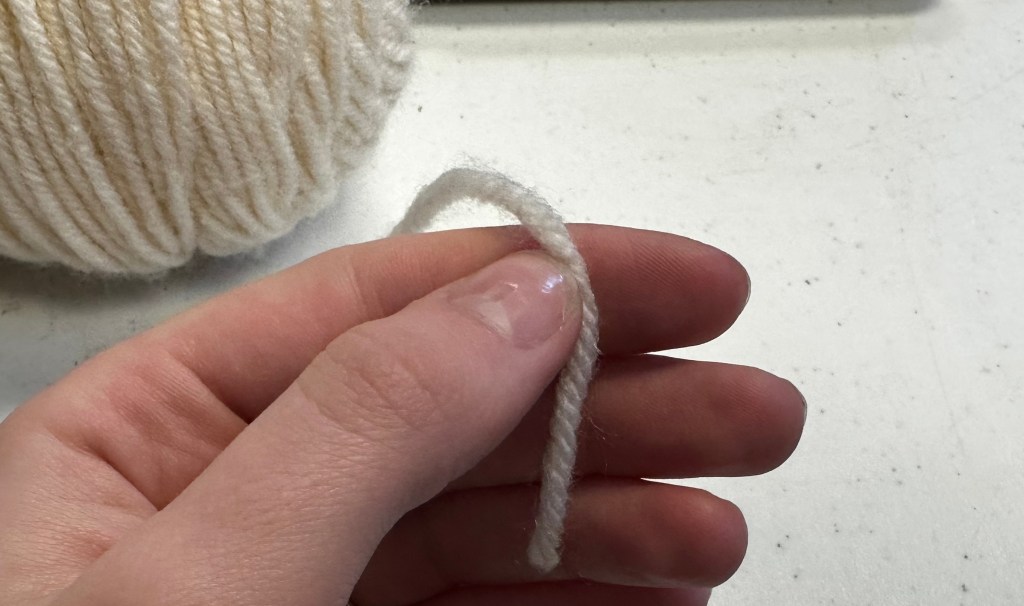
I then decide to start by working from the bottom up to the head as that way I will be able to keep one continuous body and head by not having to sew them together. Since my bunny is circular, I start with a magic loop for my amigurumi body.

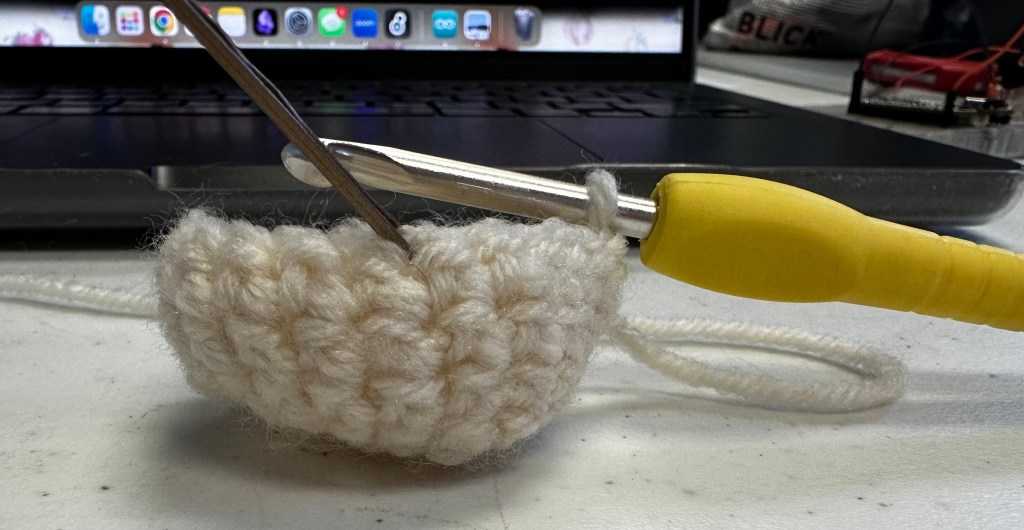
As I work my way up, I use increase stitches to reach the full body size before I use decrease stitches to hollow the body back for the neck.
Here are my increase stitches, but you are also able to see an example of how I am using the bobby pin to mark my stitches.
And decrease stitches before I go back to increase stitches to form the bunny’s head.

I then use my increase stitches before I go back to singles and decreases to form yet another circle but this time it is larger and more stout.
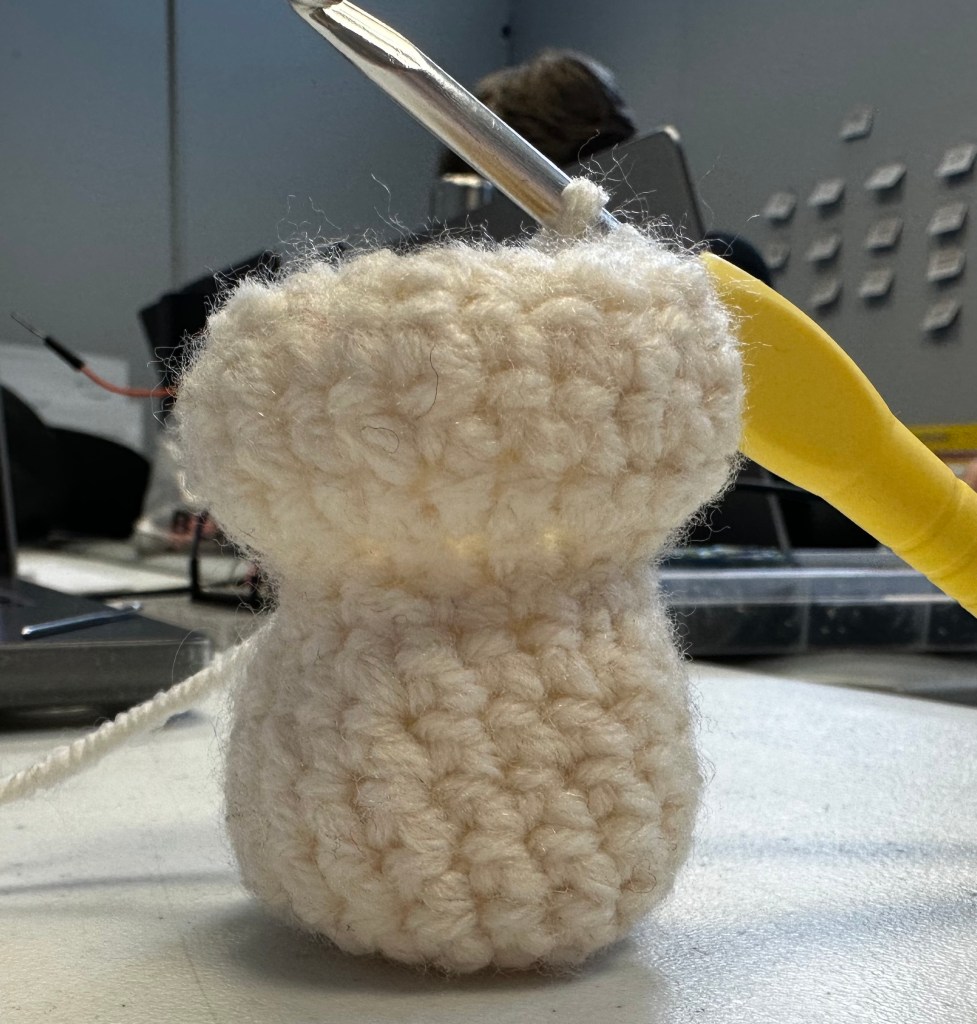
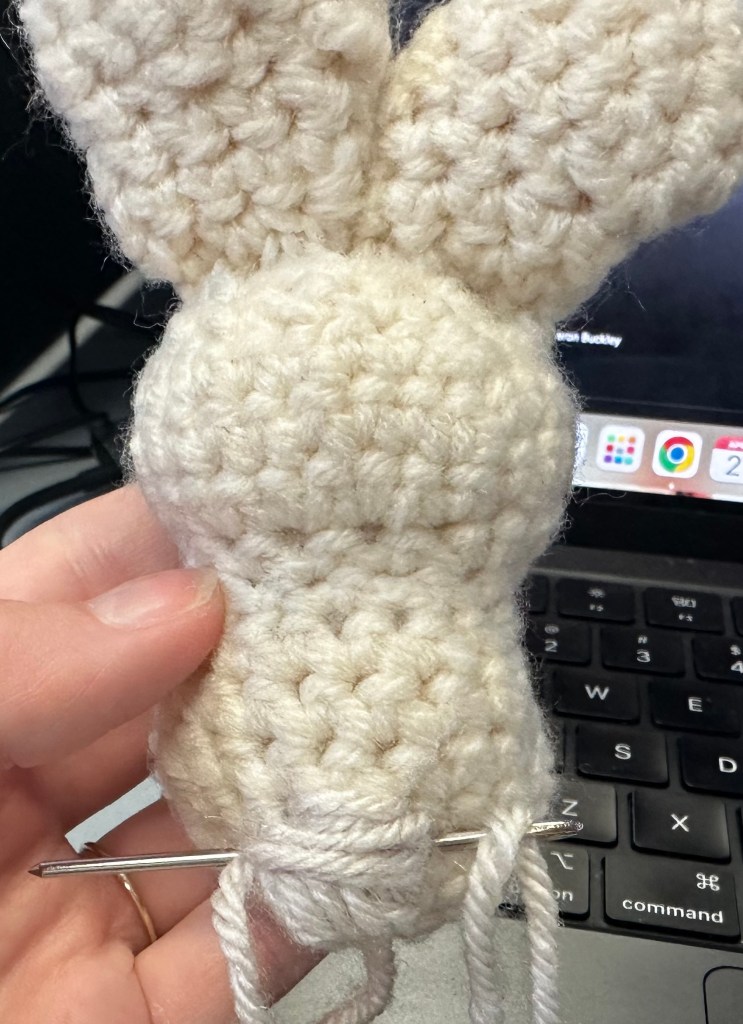
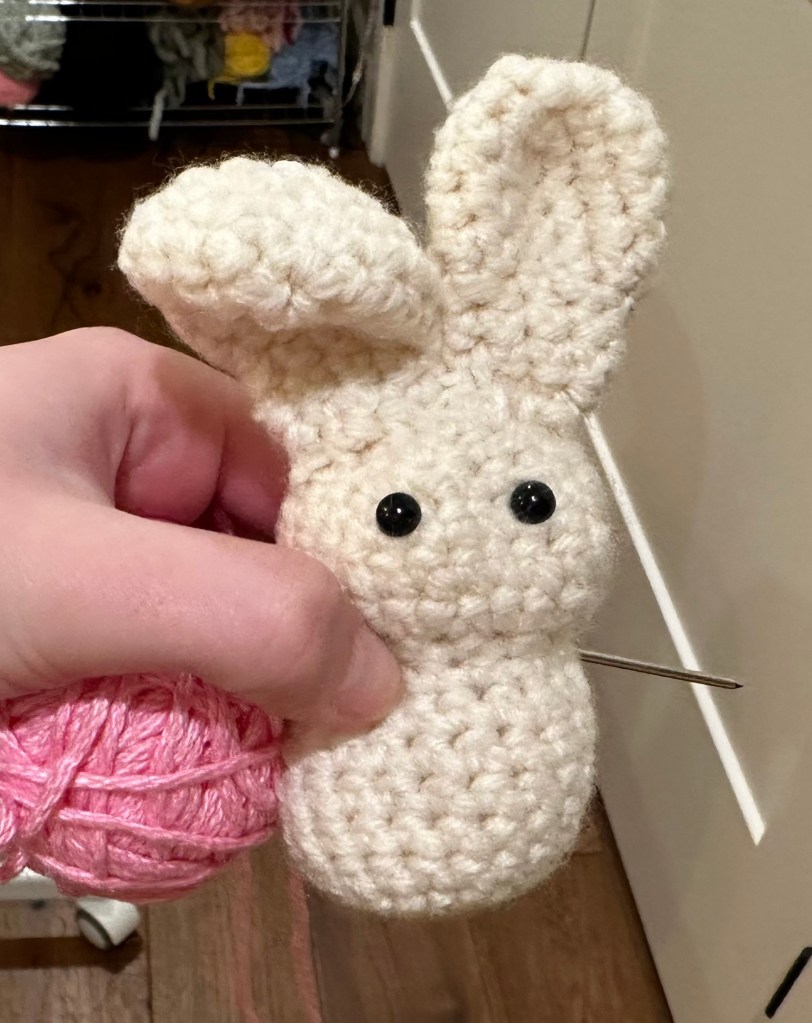
Once I have completed the body and head, I stuff the figure with polyfil as well as leftover yarn scraps to then sew up the head. * PLEASE NOTE that even if you have been crocheting for years, you will be prone to make a mistake. At this point, I should have inserted the plastic eyes and clipped them into place before stuffing and sewing together as this is the intended way. It is not fun to try and secure your eyes through your stitches once your figure is complete. As a last resort, my final projects eyes are not secured, they are simple held in place in between the stitches. LEARN FROM ME and don’t do that. *
But nonetheless, here I am stuffing and sewing together.

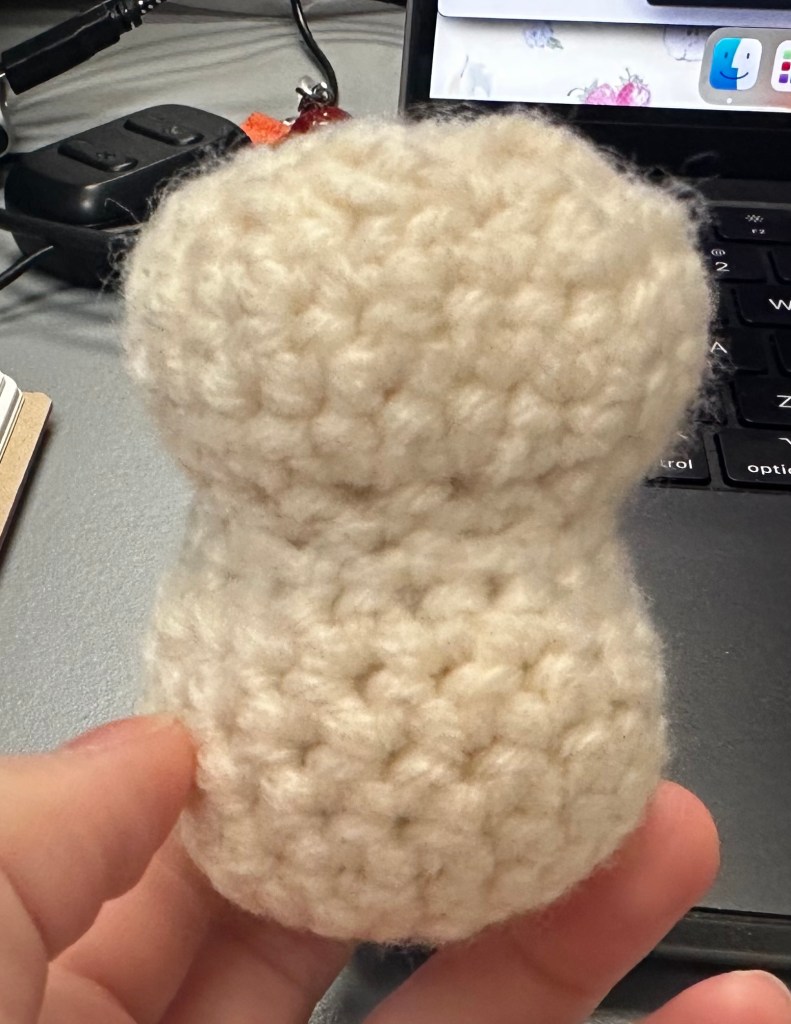
Top

Bottom
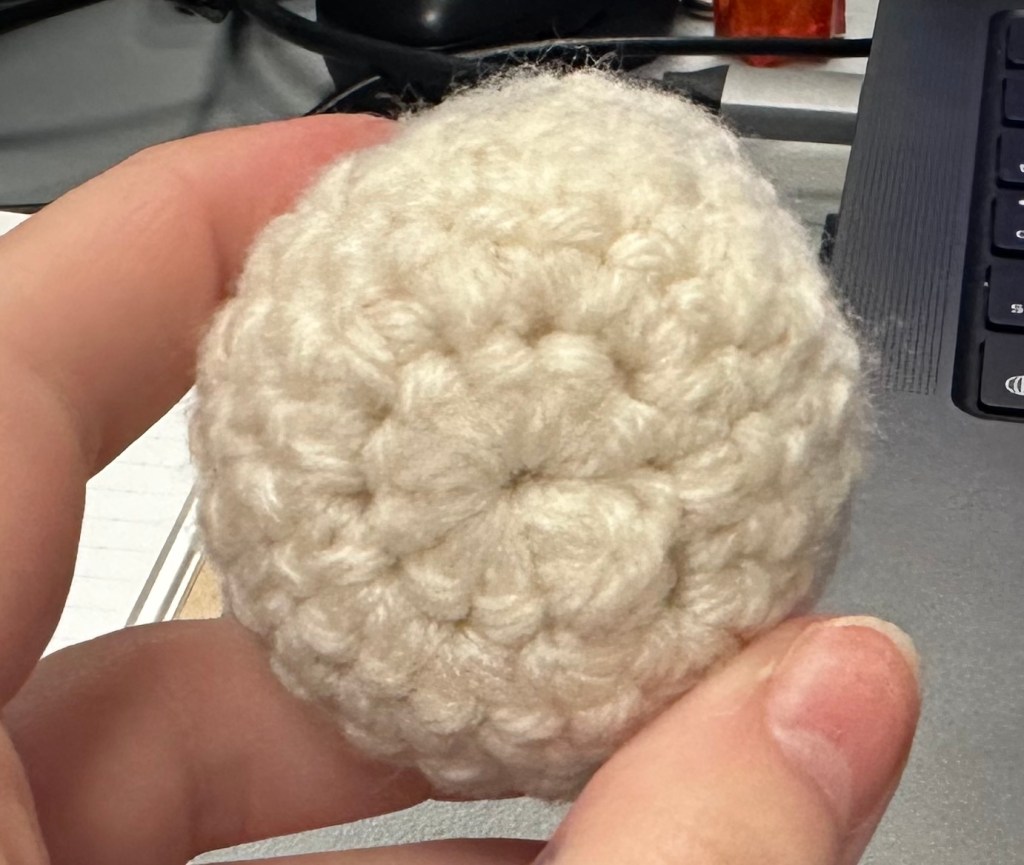
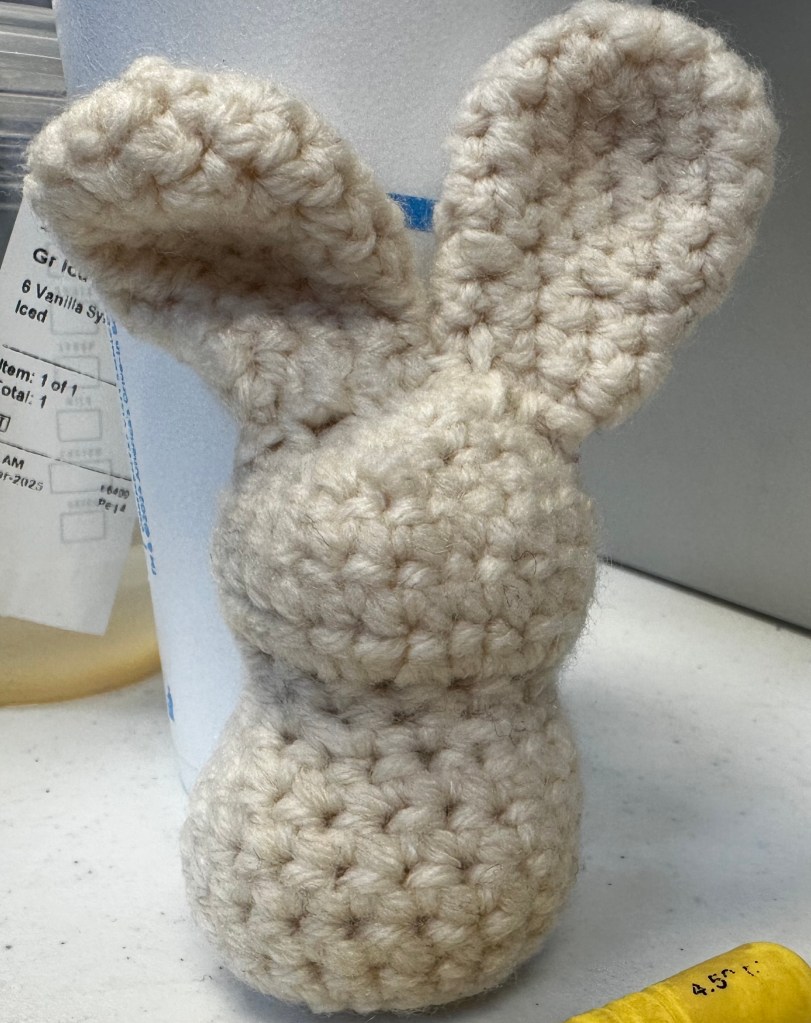
And the finished body/head.
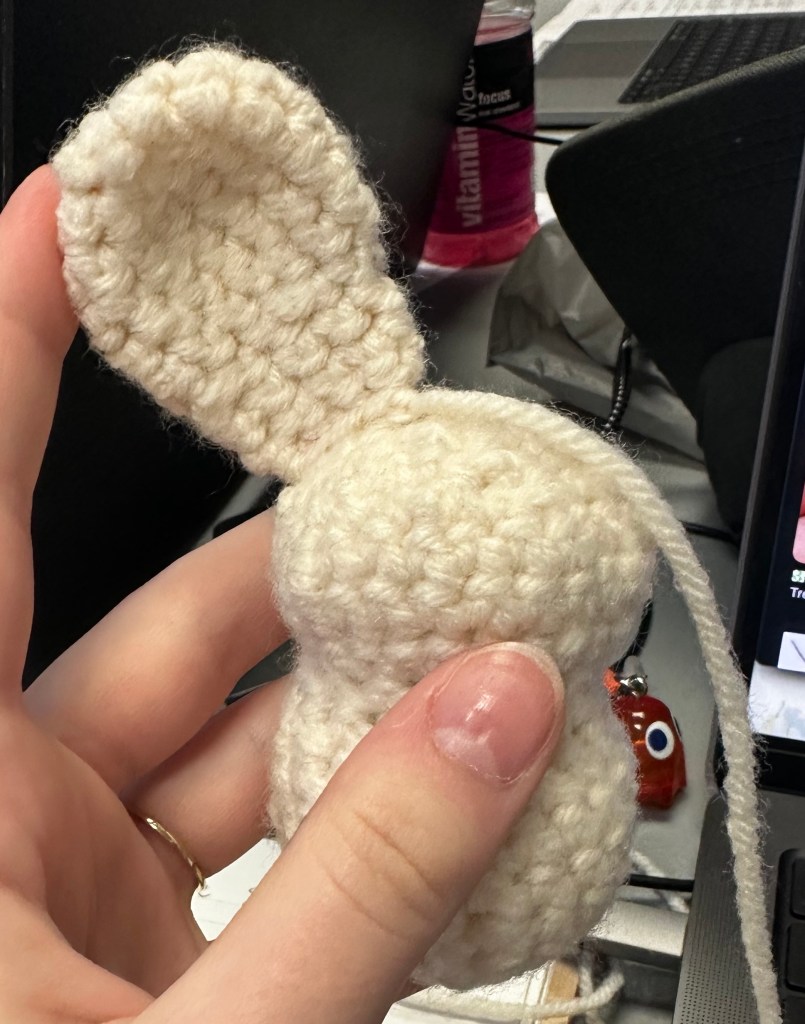
I then start to make the ears. I decided to not make them look directly like the reference image but rather only use the image for inspiration.
For the ears, I simply use the increase stitch from a magic circle and crochet a tube like shape. I don’t stuff the ears as I press the edges of the tube together, it is easier to visualize from the image below.

I then position the ear to make sure it is the right size before I proceed to make the other ear. Once I determine that the ear is the correct size, I make the other duplicate ear. Remember to count your initial stitches so you’ll be able to exactly replicate the opposite ear.
Also remember to leave enough yarn at the end of your rounds so you’ll be able sew the ears to the head without excess yarn.
As you can see at this point, I realize that I should’ve attached my eyes earlier. You may need to experiment with the eye’s shape to make sure that they are in the correct perspective.

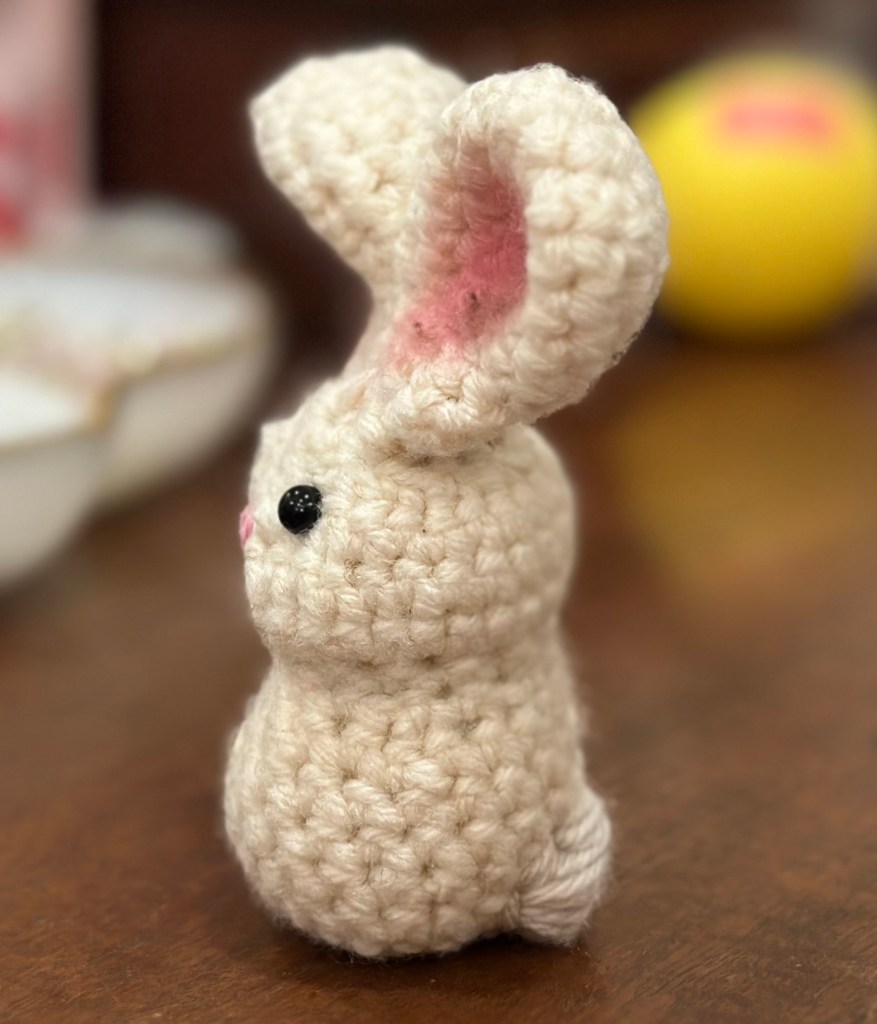
I then go ahead and choose another slightly darker color of scrap yarn to make the bunny’s tail.
It’s slightly difficult to tell the color difference from this image, but trust that it is darker.
For the tail, I simply use my embroidery needle to embroider a small tail onto my bunny.

Once I’ve reached this point, my bunny is almost complete and ready for final touches!
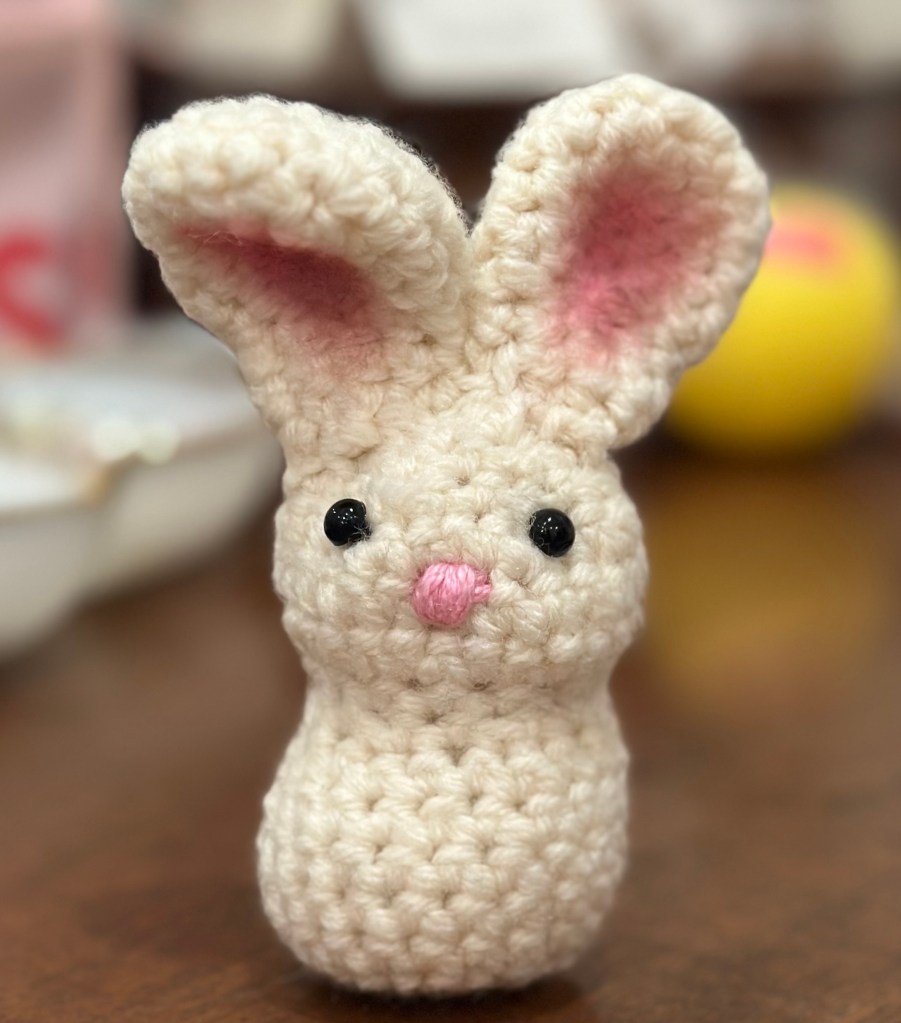
I grab some leftover pink embroidery yarn and stitch a small pink nose to my bunny. I do have to adjust the nose a couple of times to find the perfect location.

I then decide to try something new as I realize the bunny’s ears could use some color. I remember a technique I saw where a girl used chalk to add accent colors to her yarn, so I go to my bathroom and grab some blush to apply to the inner parts of the bunny’s ears!

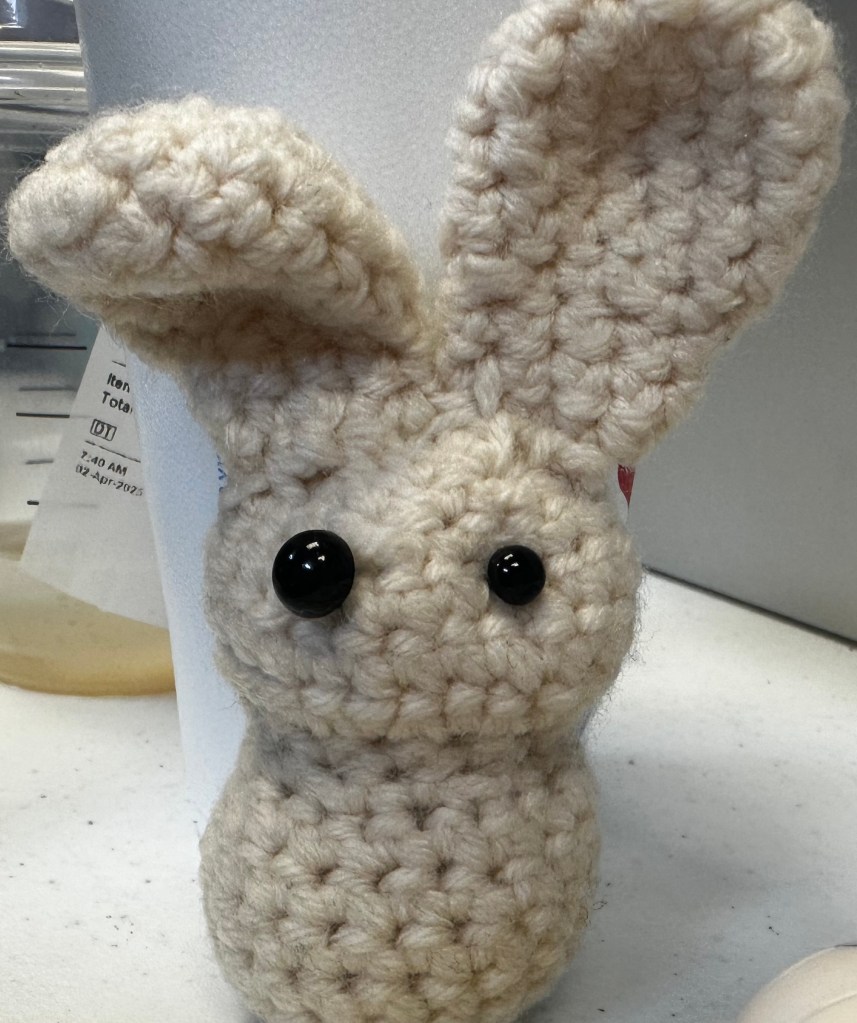
I add it to my bunny and take my final project pictures!
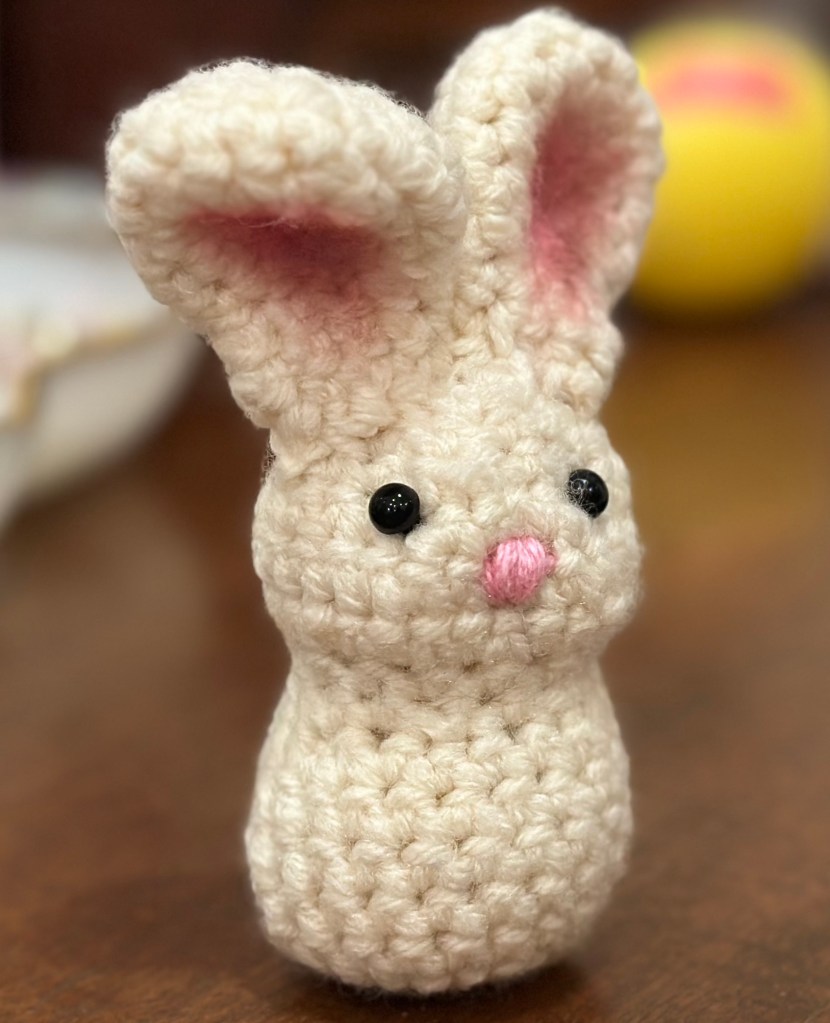
It’s important to always take final pictures of your project so you always have a reference of your creation for use if you decide to include it in items such as a portfolio. I hope you enjoyed my work through of using a reference image for an example to conceptualize how to create with amigurumi. Thanks for reading if you made it this far!
